Adventures in Milk Paint 1: Don’t look a gift horse in the mouth
As woodworkers we many times get very snooty about furniture. “Ikea? I’d never put that crap in my house” “MDF? That cardboard crap is only useful for making Jigs”. I am just as guilty of this as the next wood snob.
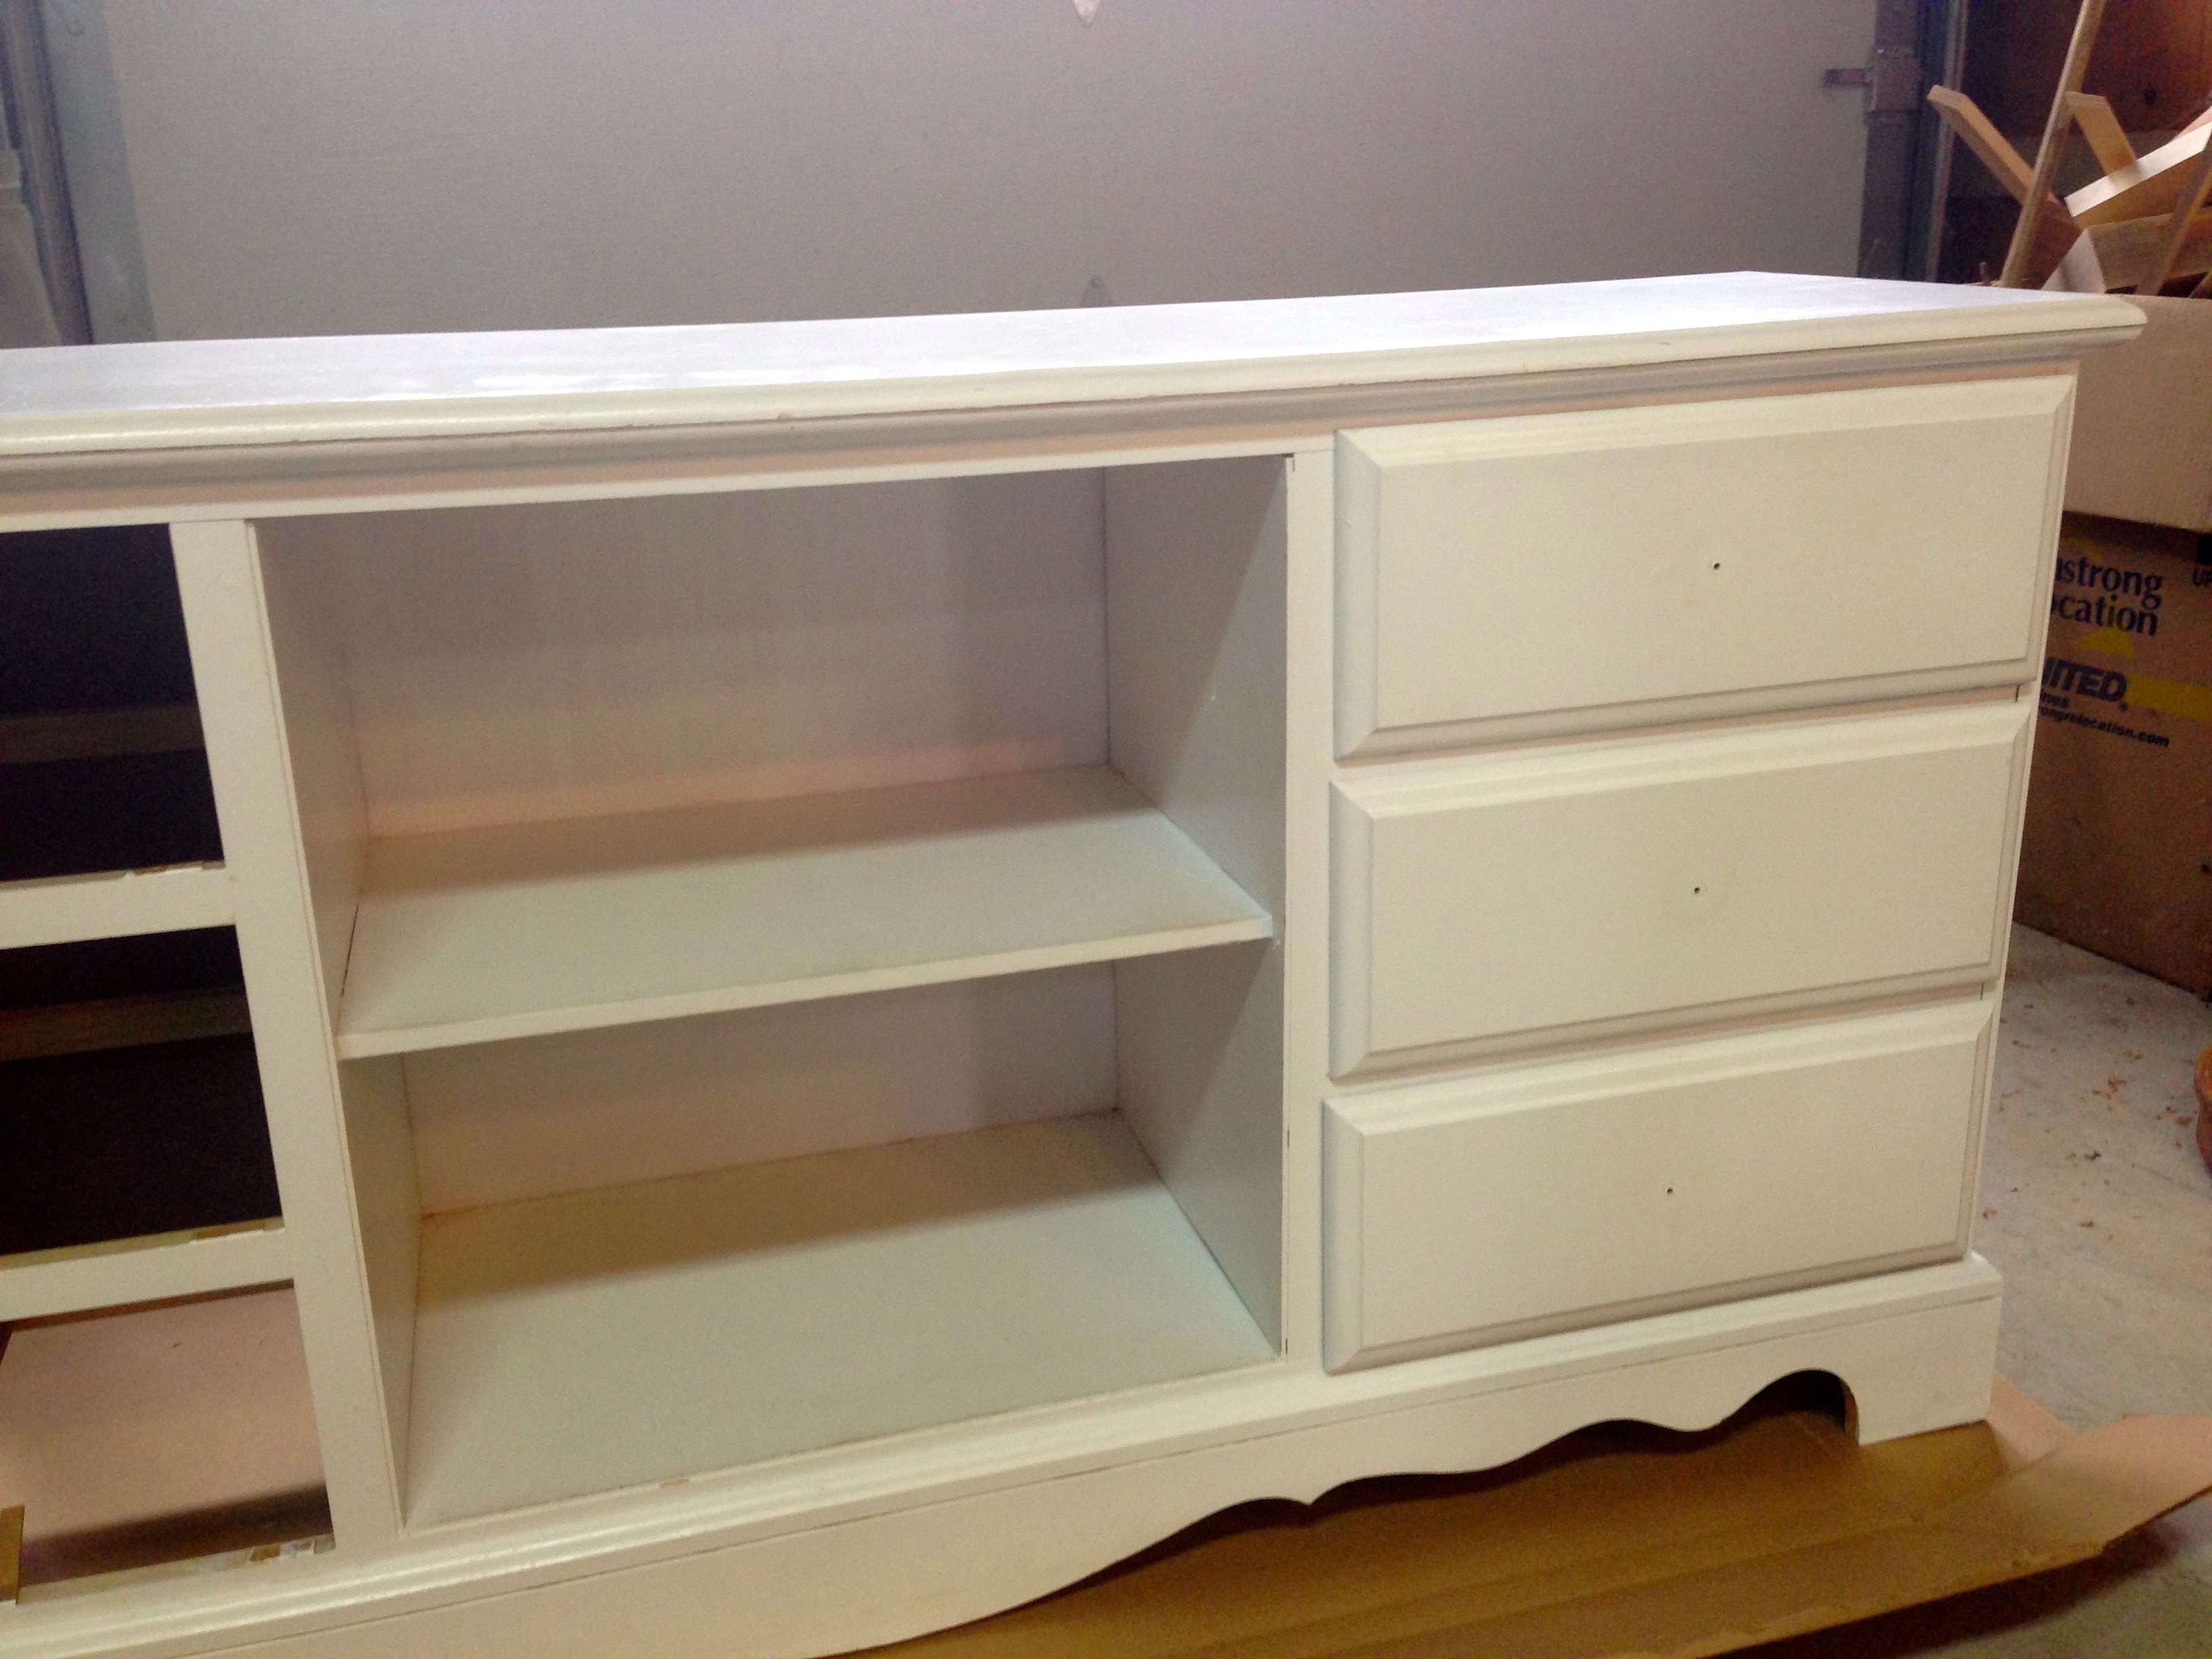
While I love the path of heirloom quality furniture that my transformation into a woodworker has lead me down, it has left a number of the rooms of our house quite empty. (Maybe someday we will actually have a table and chairs in our diningroom). Recently our neighbors have been updating a few of their rooms and cleaning out old stuff. This has lead to some wonderfully usefull hand-me-downs. When they ask me if I could use a white set of bedroom dressers I didn’t even hesitate or ask the wife…. “Absolutely!”. I was sure they would be useful in one of our many empty rooms.
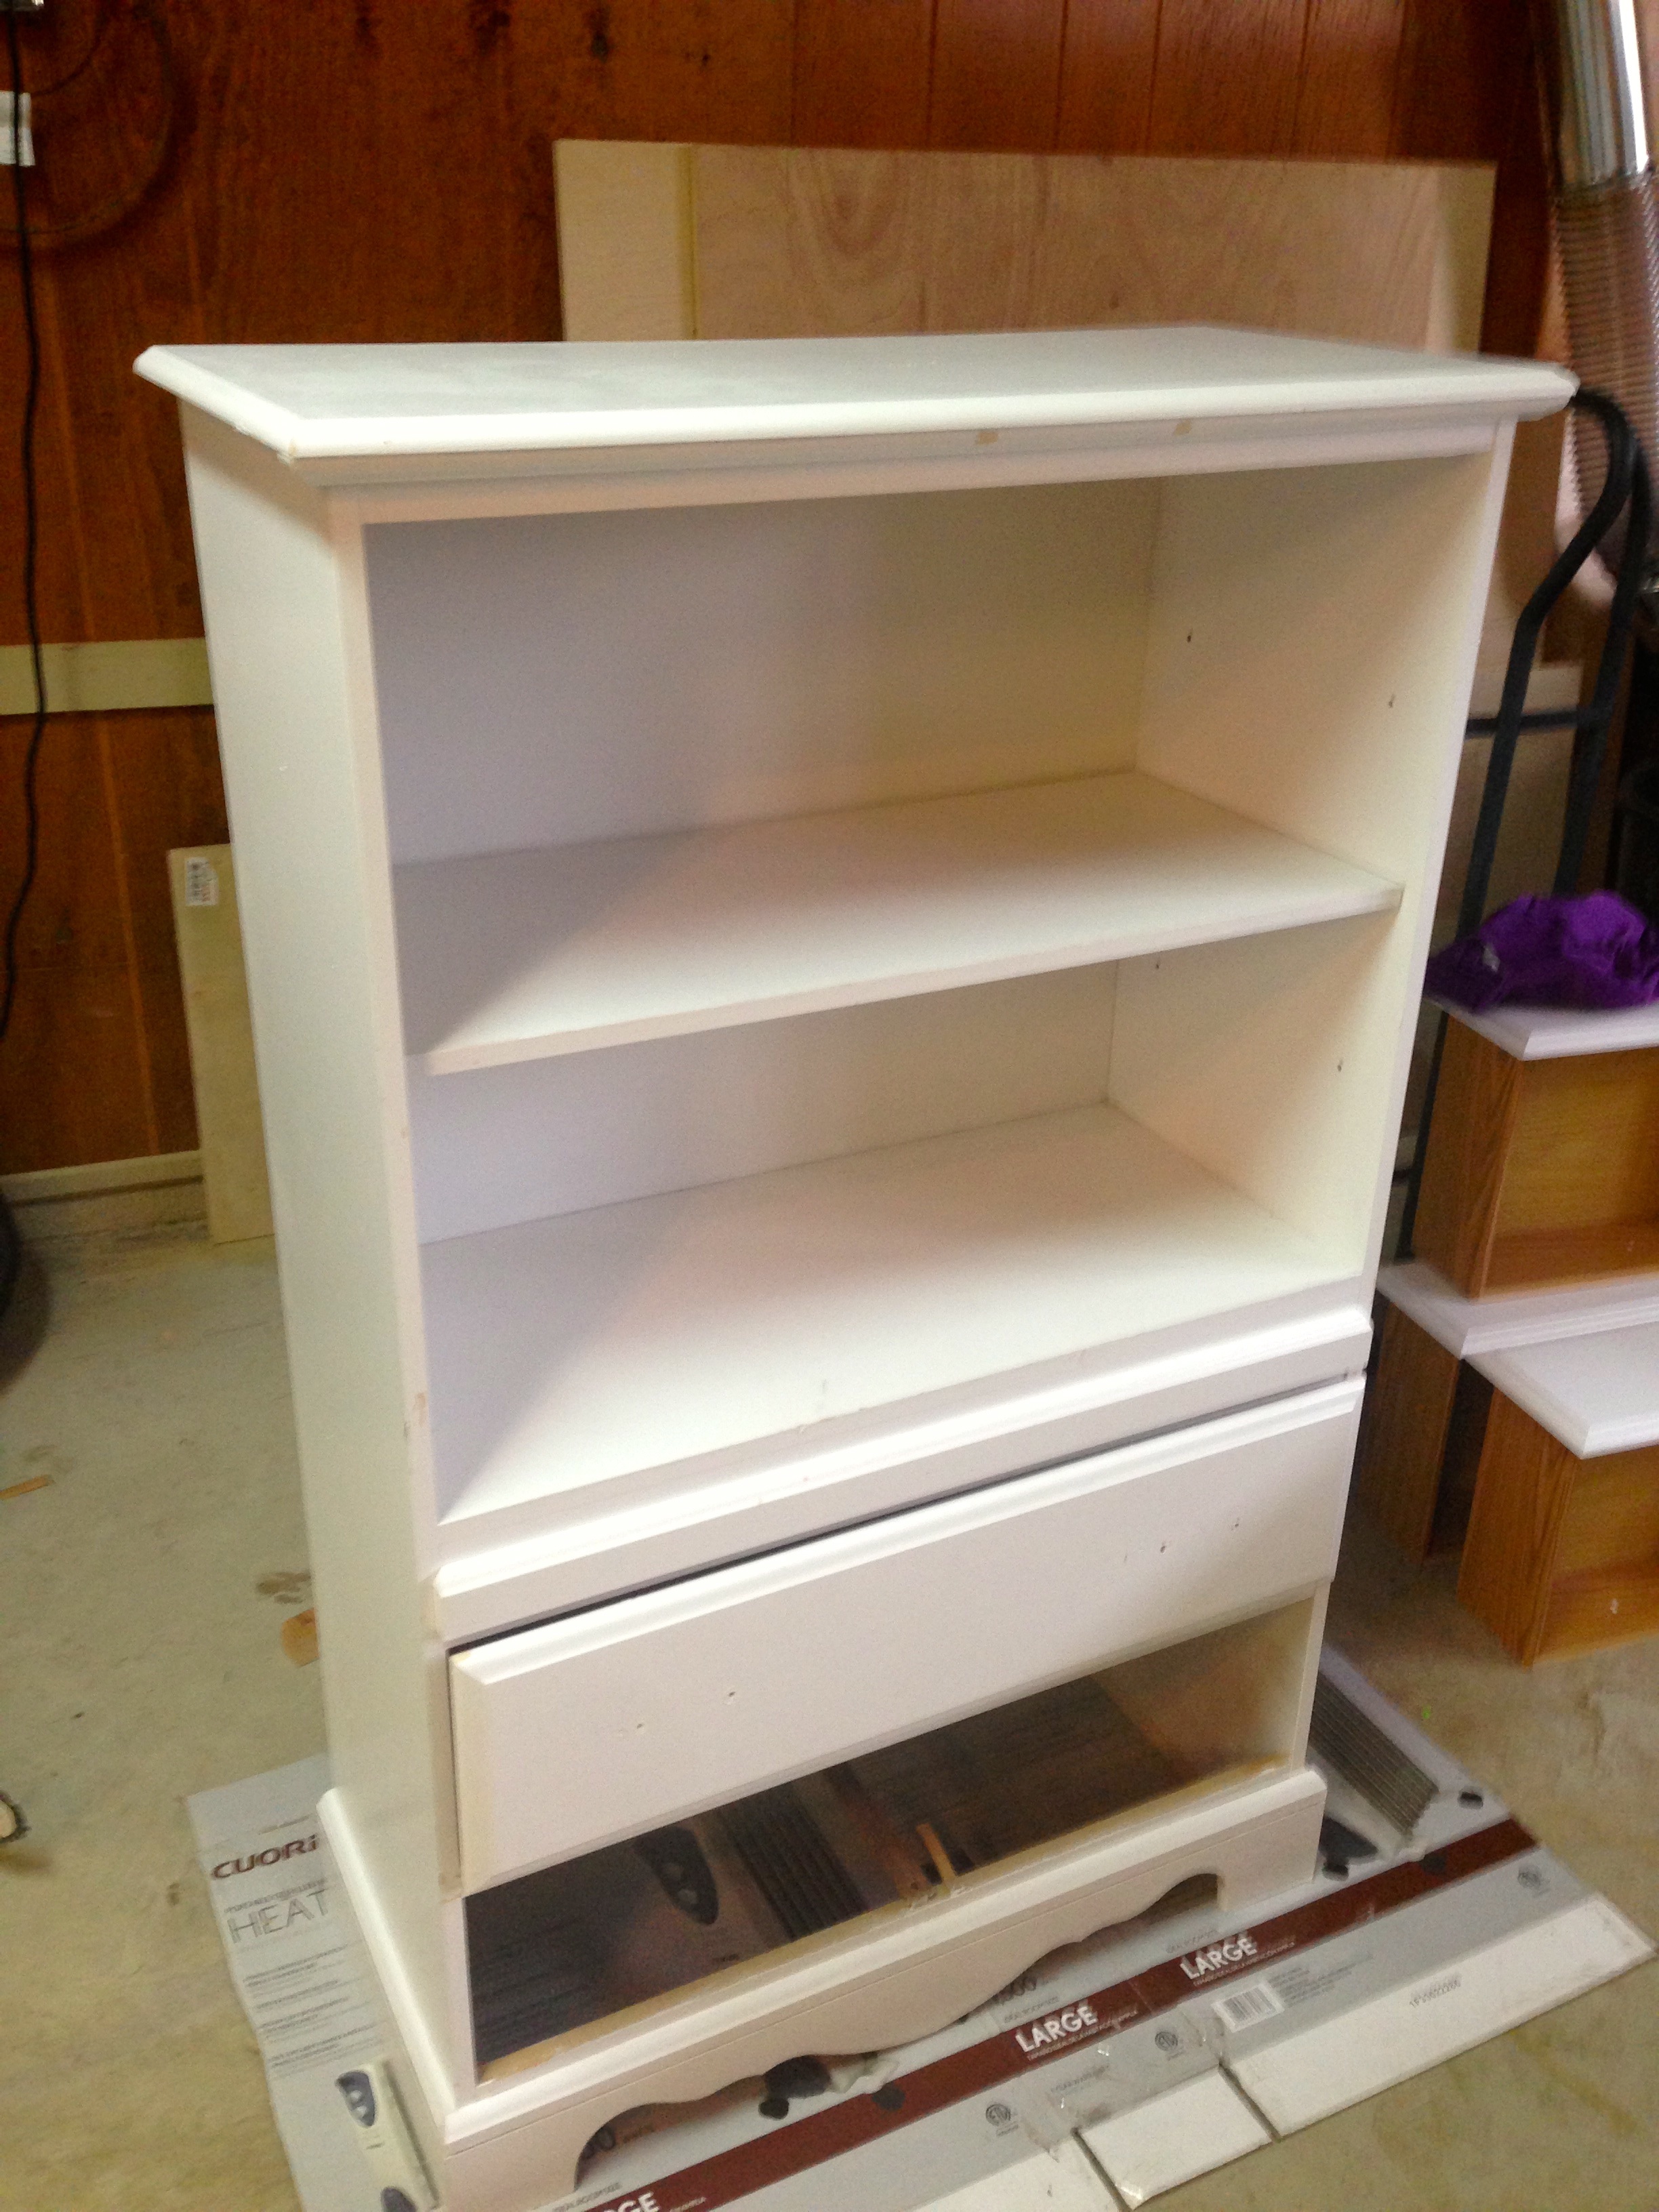
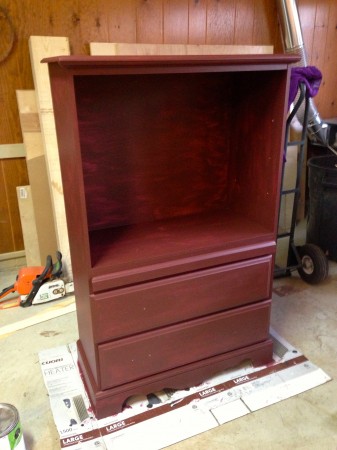
It turns out this set was made of cheap materials… in the truest definition of the word. The top, shelves, sides and drawer fronts were profiled MDF. The drawer sides were particle board. The only wood of any kind I found in the pieces were the drawer slides and the corner braces for the casework.
The set had originally been cream but had been painted white with a roller so it had that undulating texture that a roller leaves (not to mention it was covered in heart and star stickers 🙂 ) In its pressent condition I could think of no room it could go in.
One of the many projects on my list is new kitchen table and a set of chairs. I’ve already secured a set of birdcage windsor chars that were stripped and just needed repair work and refinishing done to them. My plan was to Milk paint them black over red and make a rugged farmhouse trestle table.
This set of dressers seemed like a good place to practice some finishing techniques.
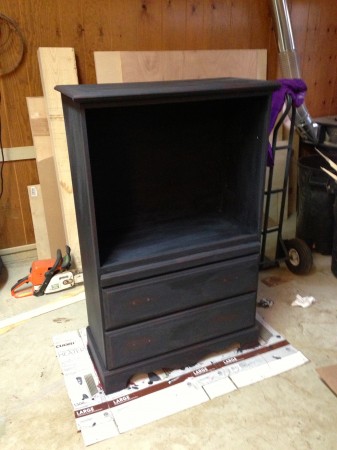
My first step was to clean them up and put a coat of primer on them. I applied every coat with a brush to bring some texture the furniture.
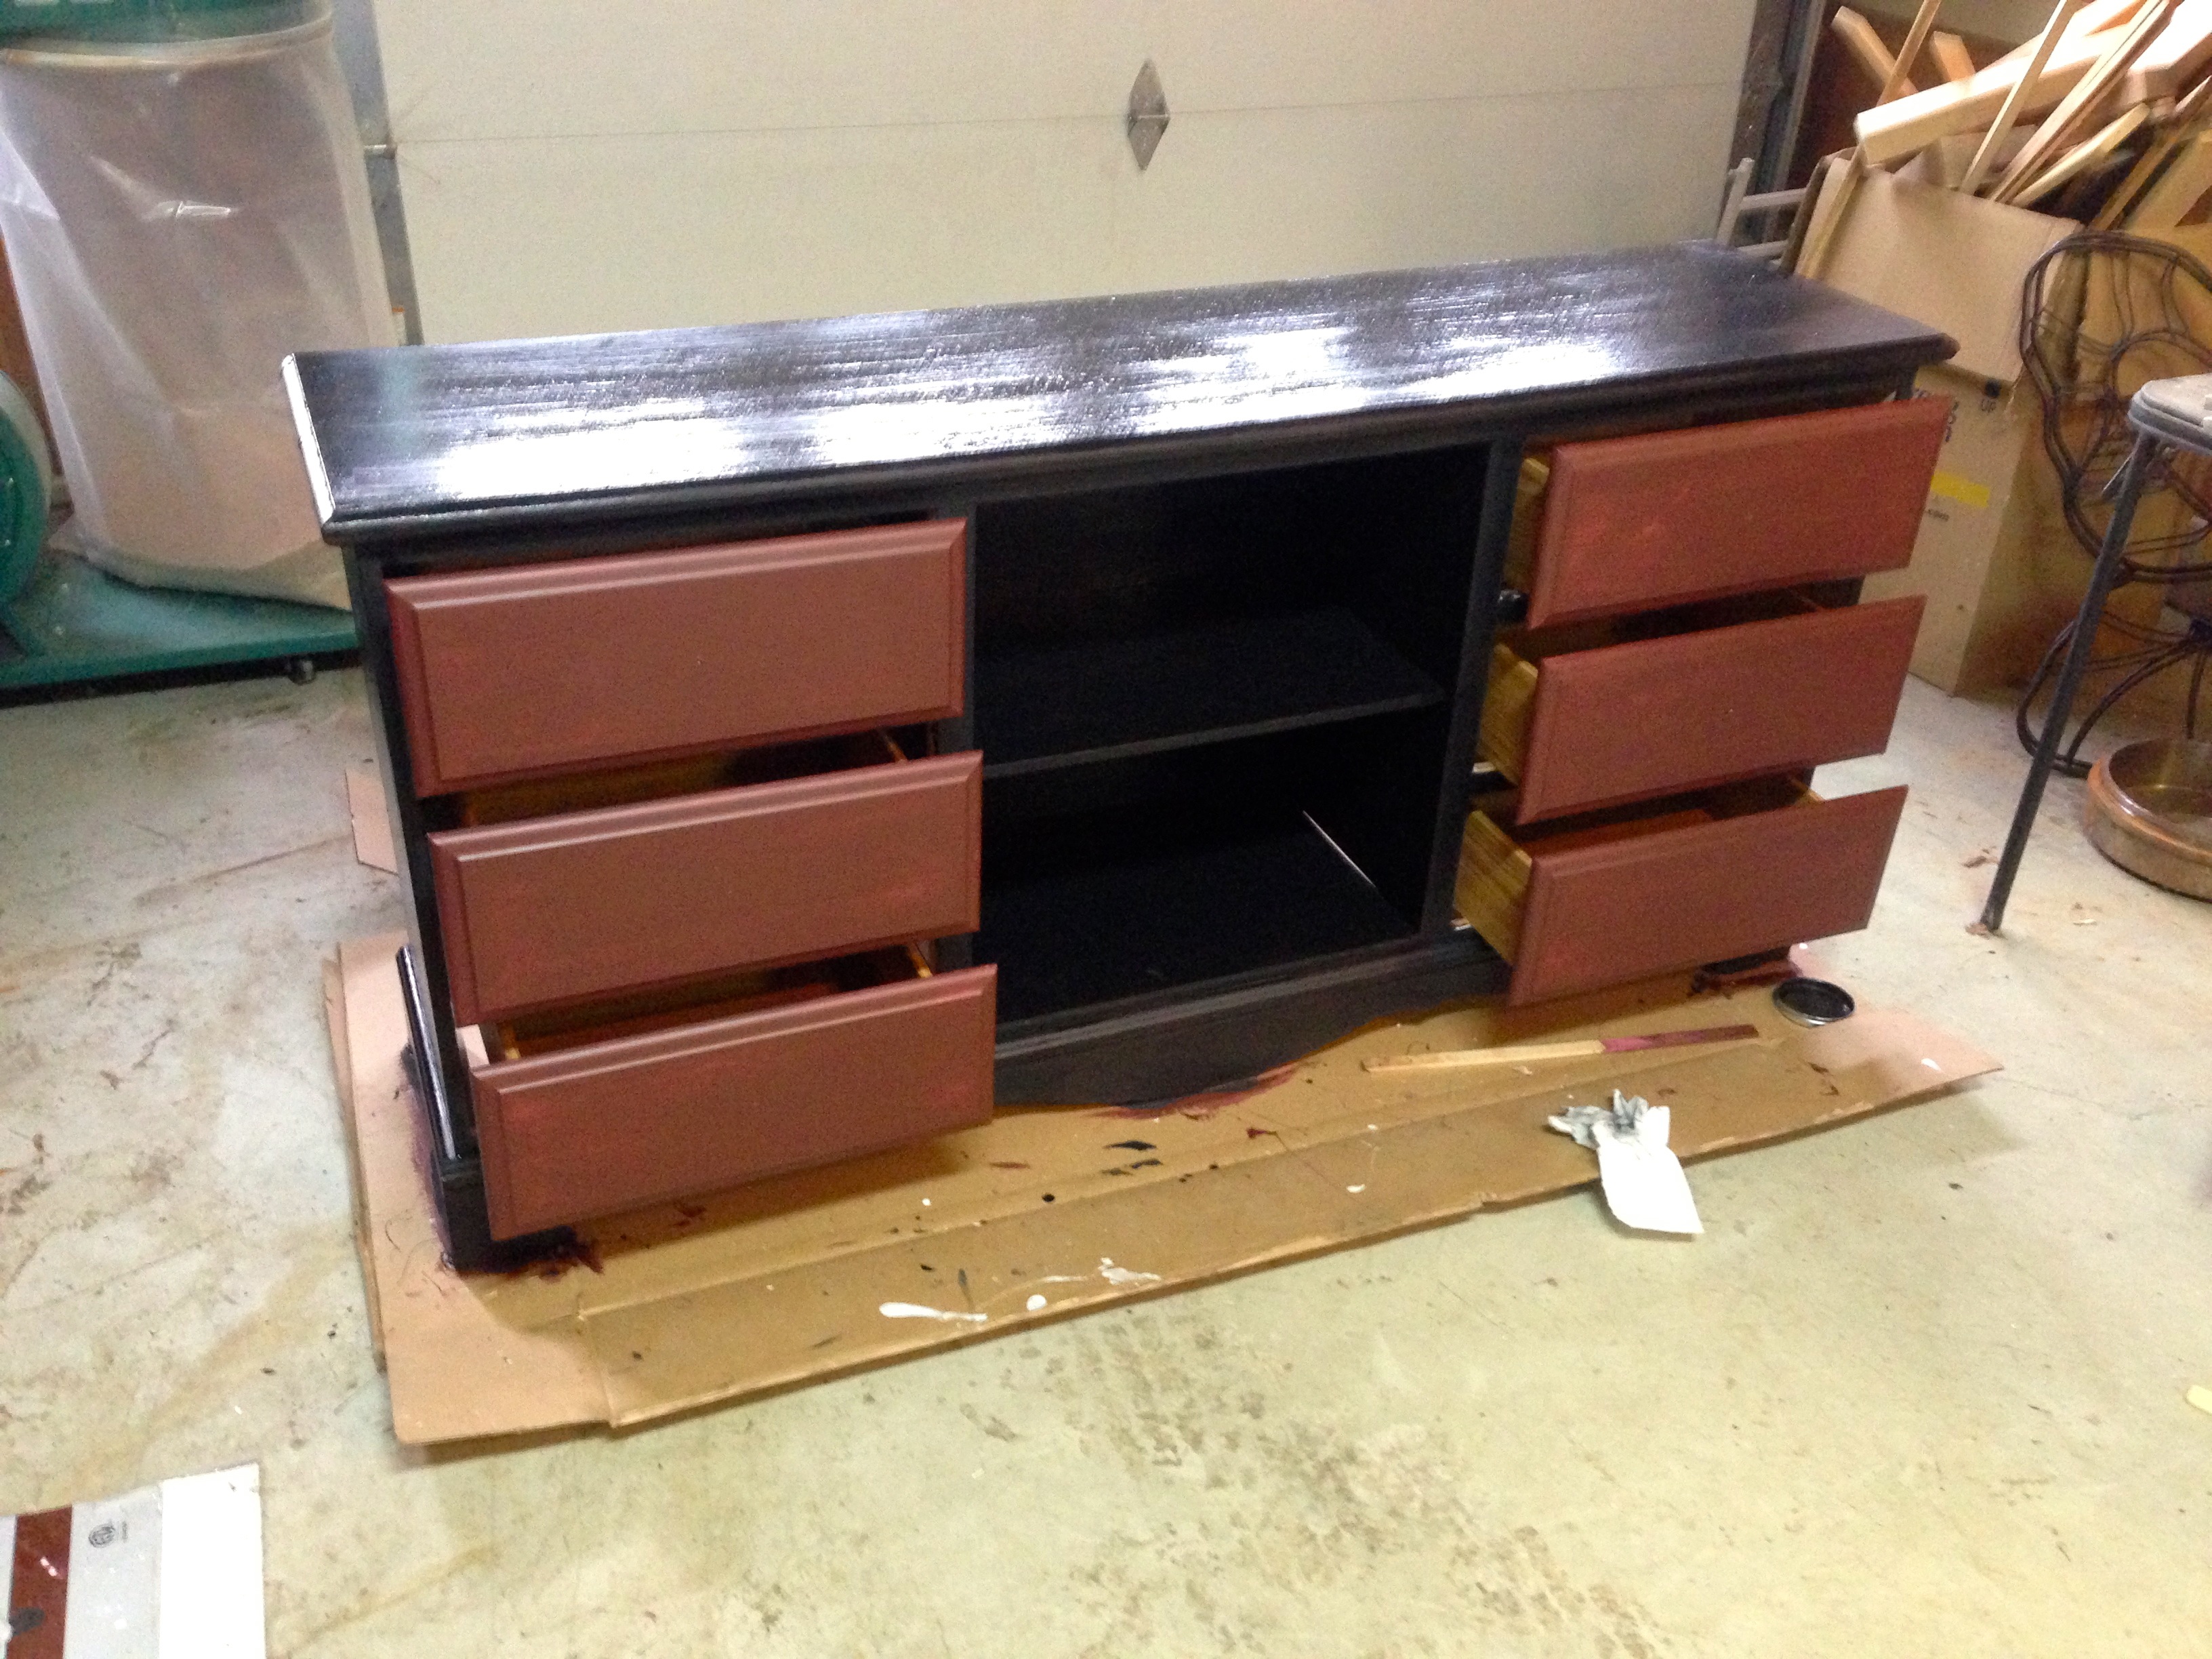
Then 3 coats of latex red I had laying around the shop. I picked up this can of paint a couple years ago for $5 from the “oops” section of our local big box. I use it for shop projects mostly and I still had around 3/4 of a gallon left.

After the red dried I painted it with Pitch Black Milk Paint mixed with EXTRA-BOND to assist in bonding it to the Latex paint underneath.
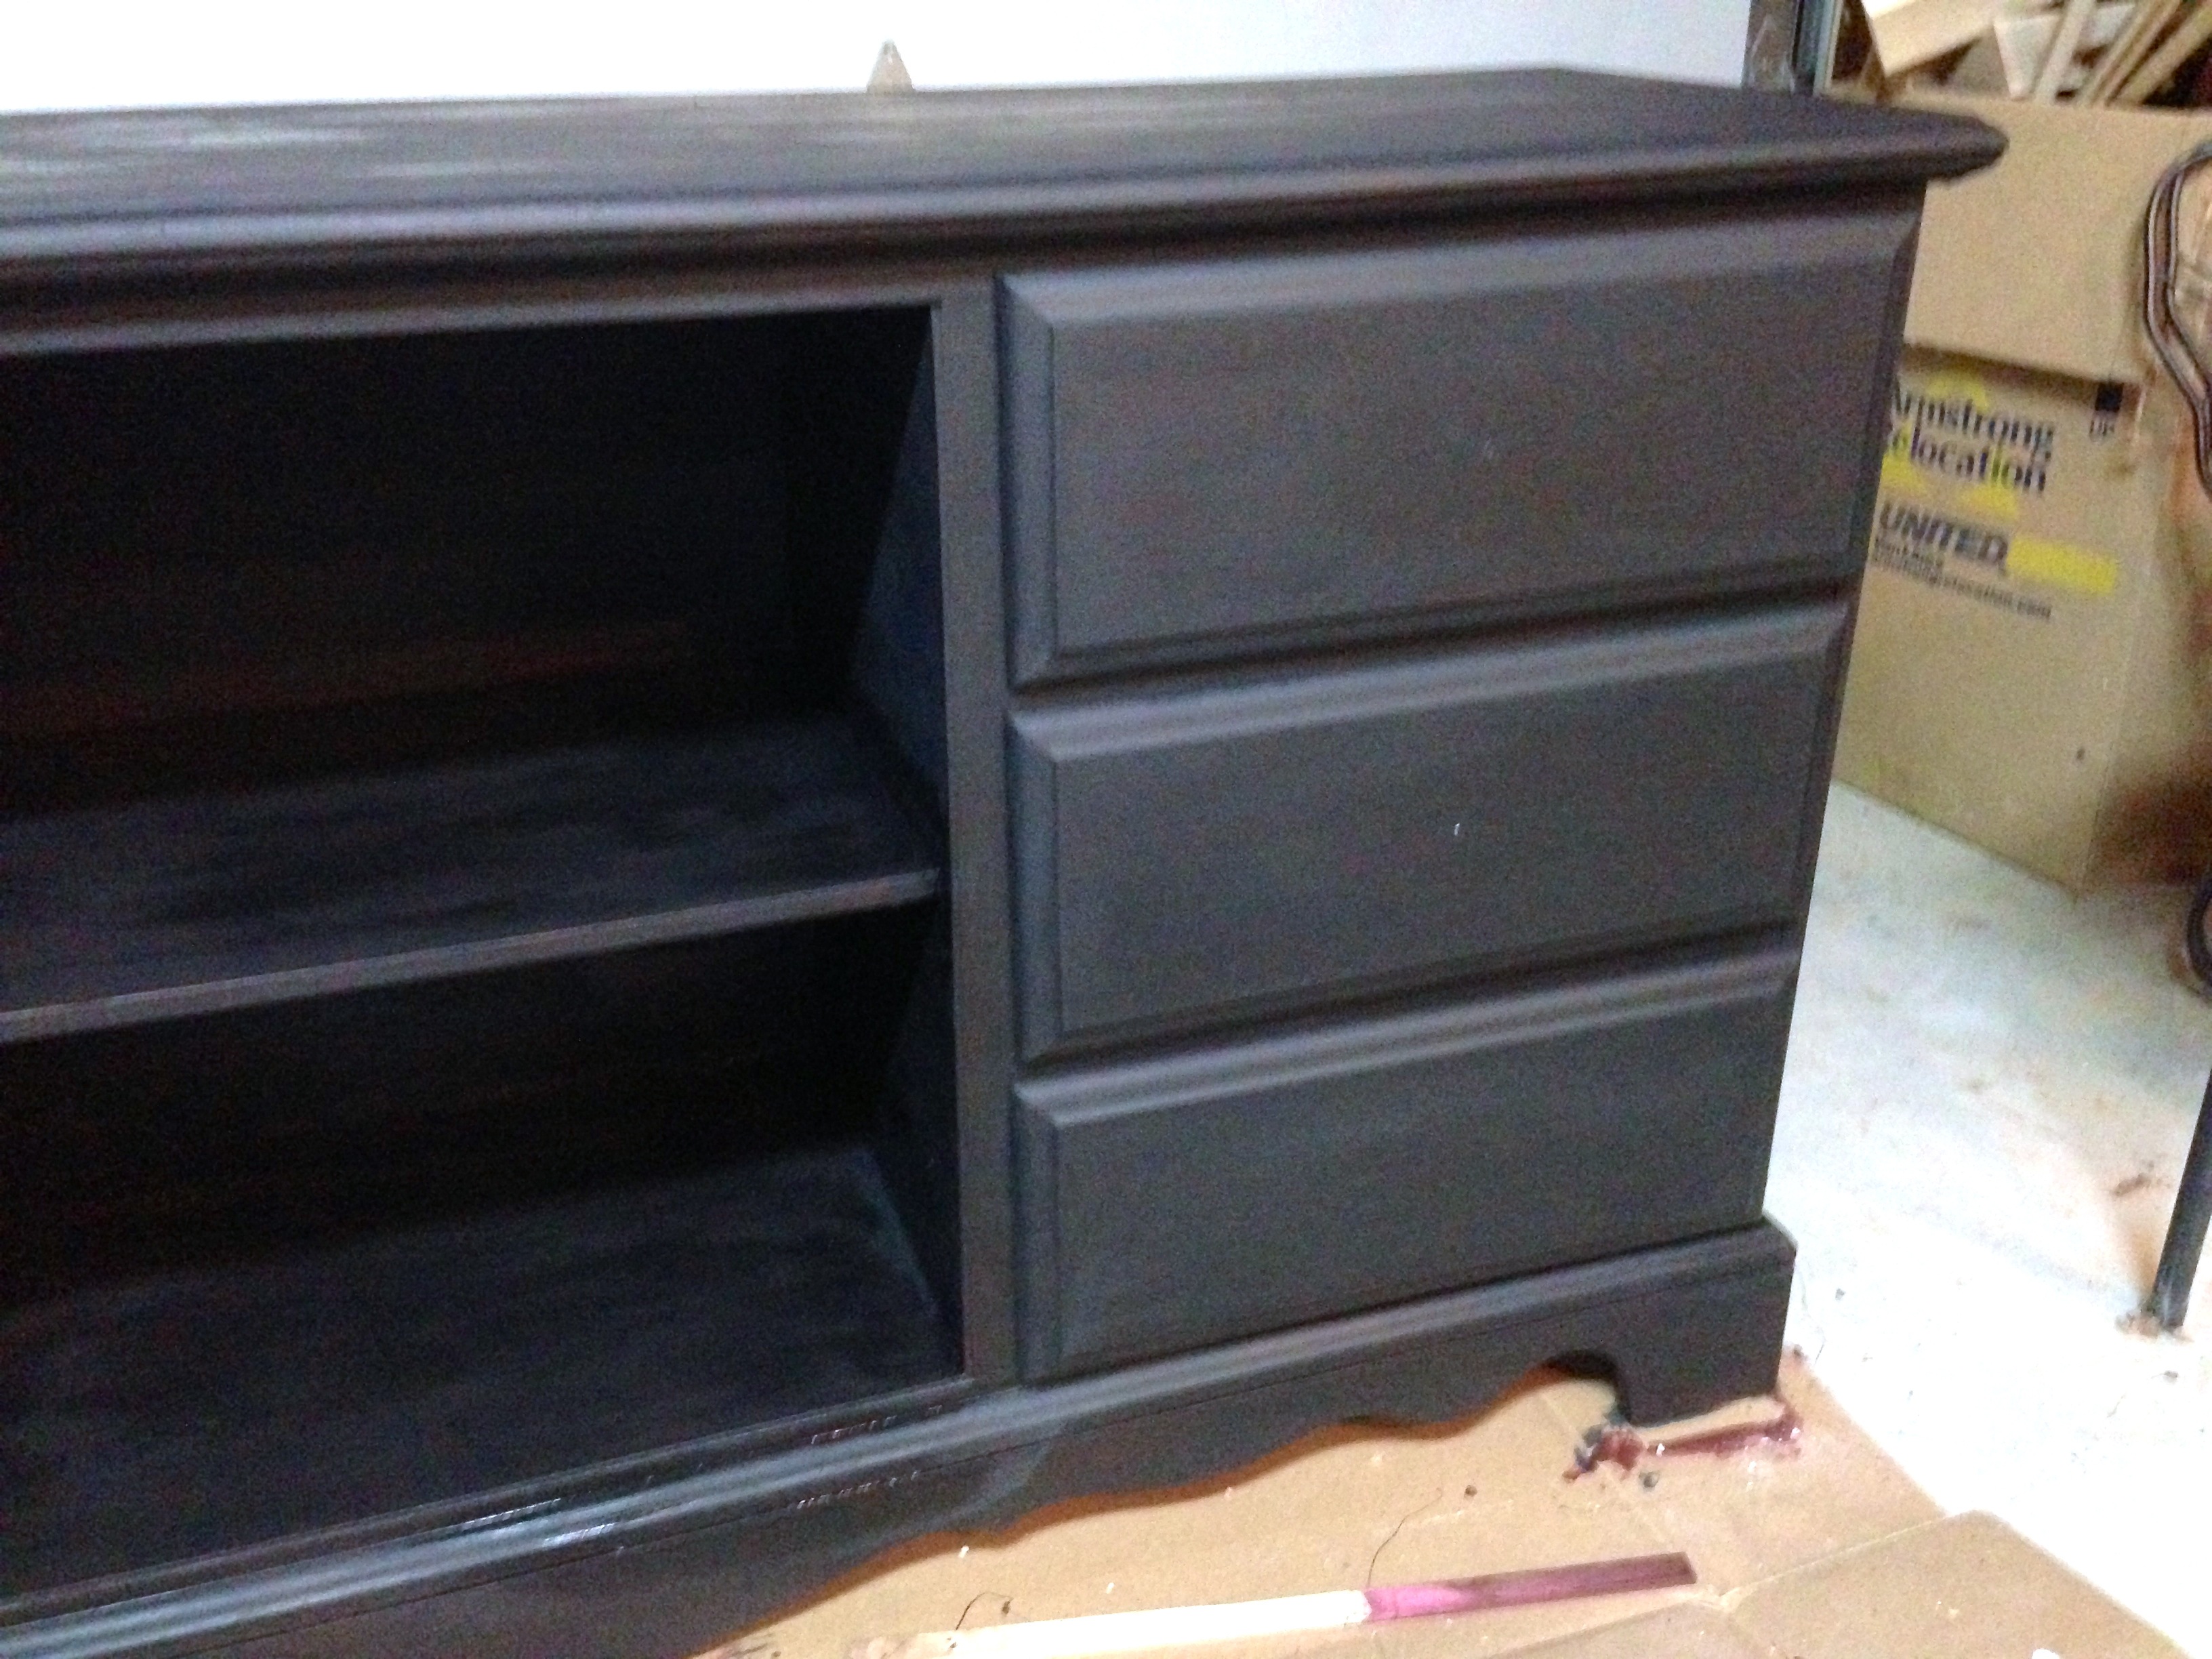
After the milk paint had dried to the point of no visible wet patches I took a wet rag and began to distress portions of the pieces. Essentially I just went around and washed off the milk paint. My goal was to add a since of history and time to the piece. I wanted to focus on areas that would receive the most wear over time, so I focused about what portions would get rubbed the most. Corners, edges, the bottoms of feet, around handles and pulls, and surfaces that would have gotten things set on them. My goal was to simulate a history.
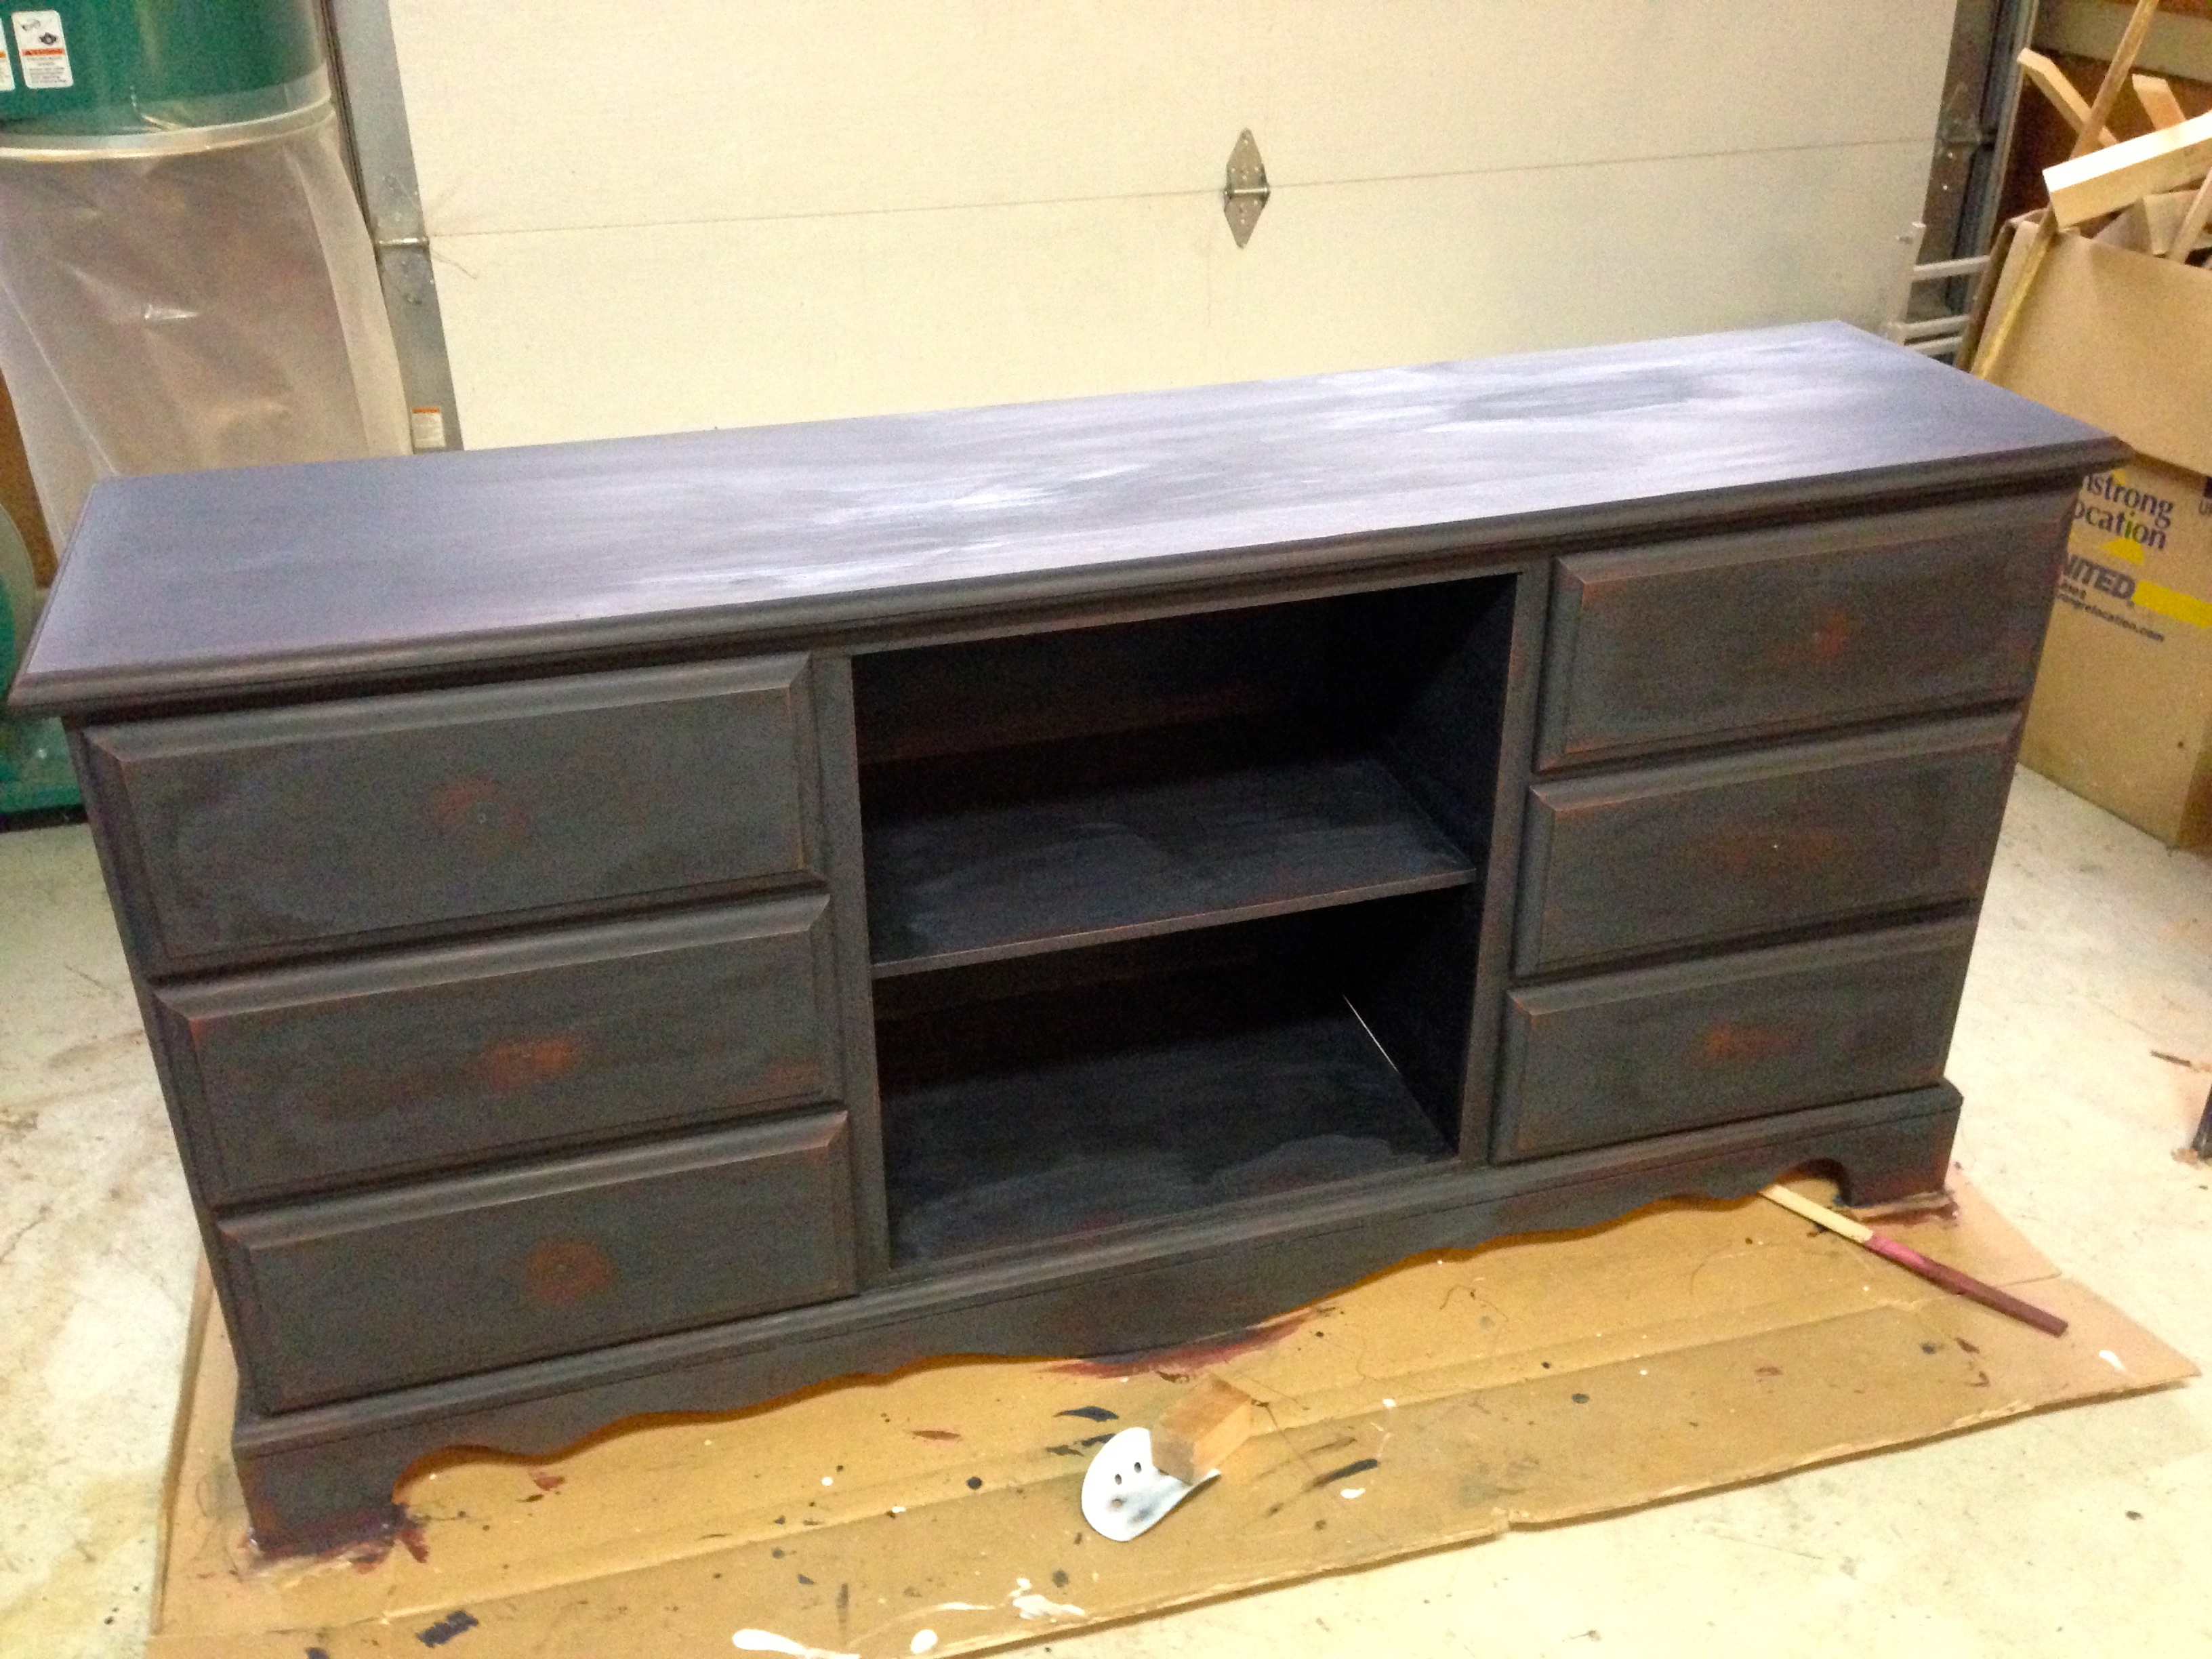
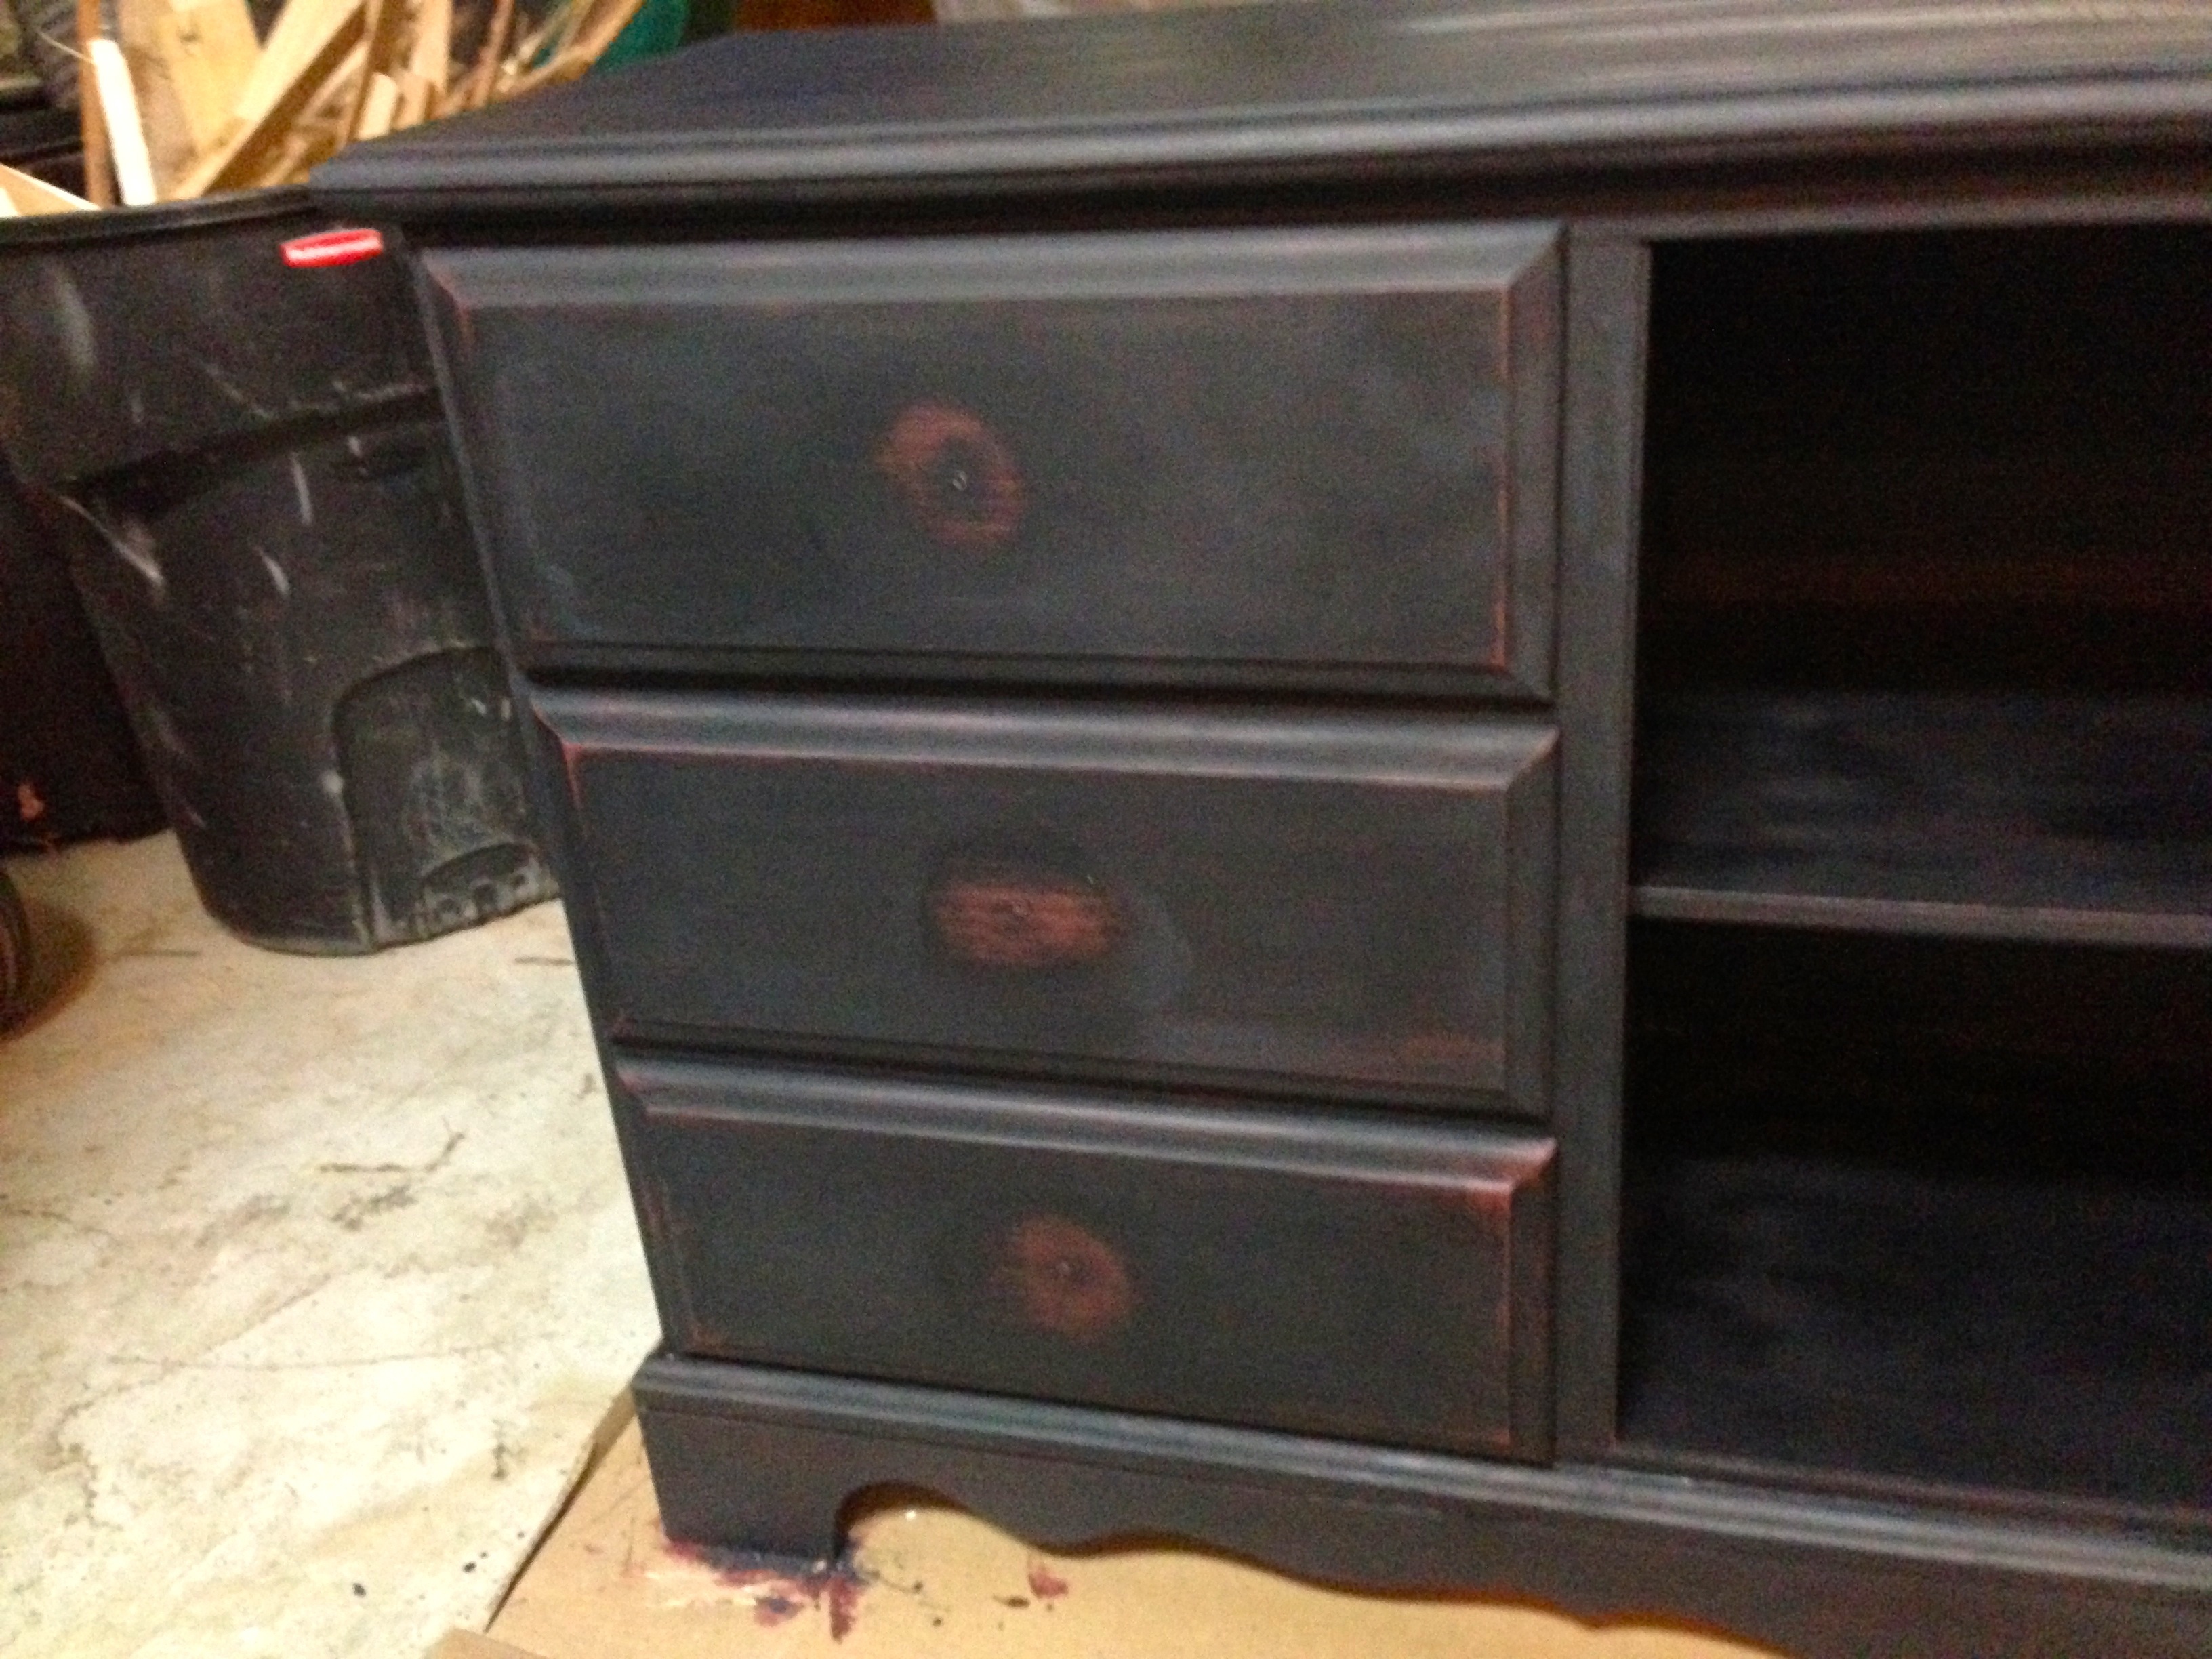
Once I was happy with the distressing I just waited for the paint to cure for a day or so and then went back and applied a coat of oil (I used boiled linseed). I just soaked a rag and made sure every part of the paint got soaked in it and wiped off the excess. I kept coming back to the piece over the next few hours and wiped up any excess with a rag and generally just tried to even out the appearance of the sheen. Over the next couple days I kept working small amounts of oil into the paint until I was happy with the evenness of the sheen.
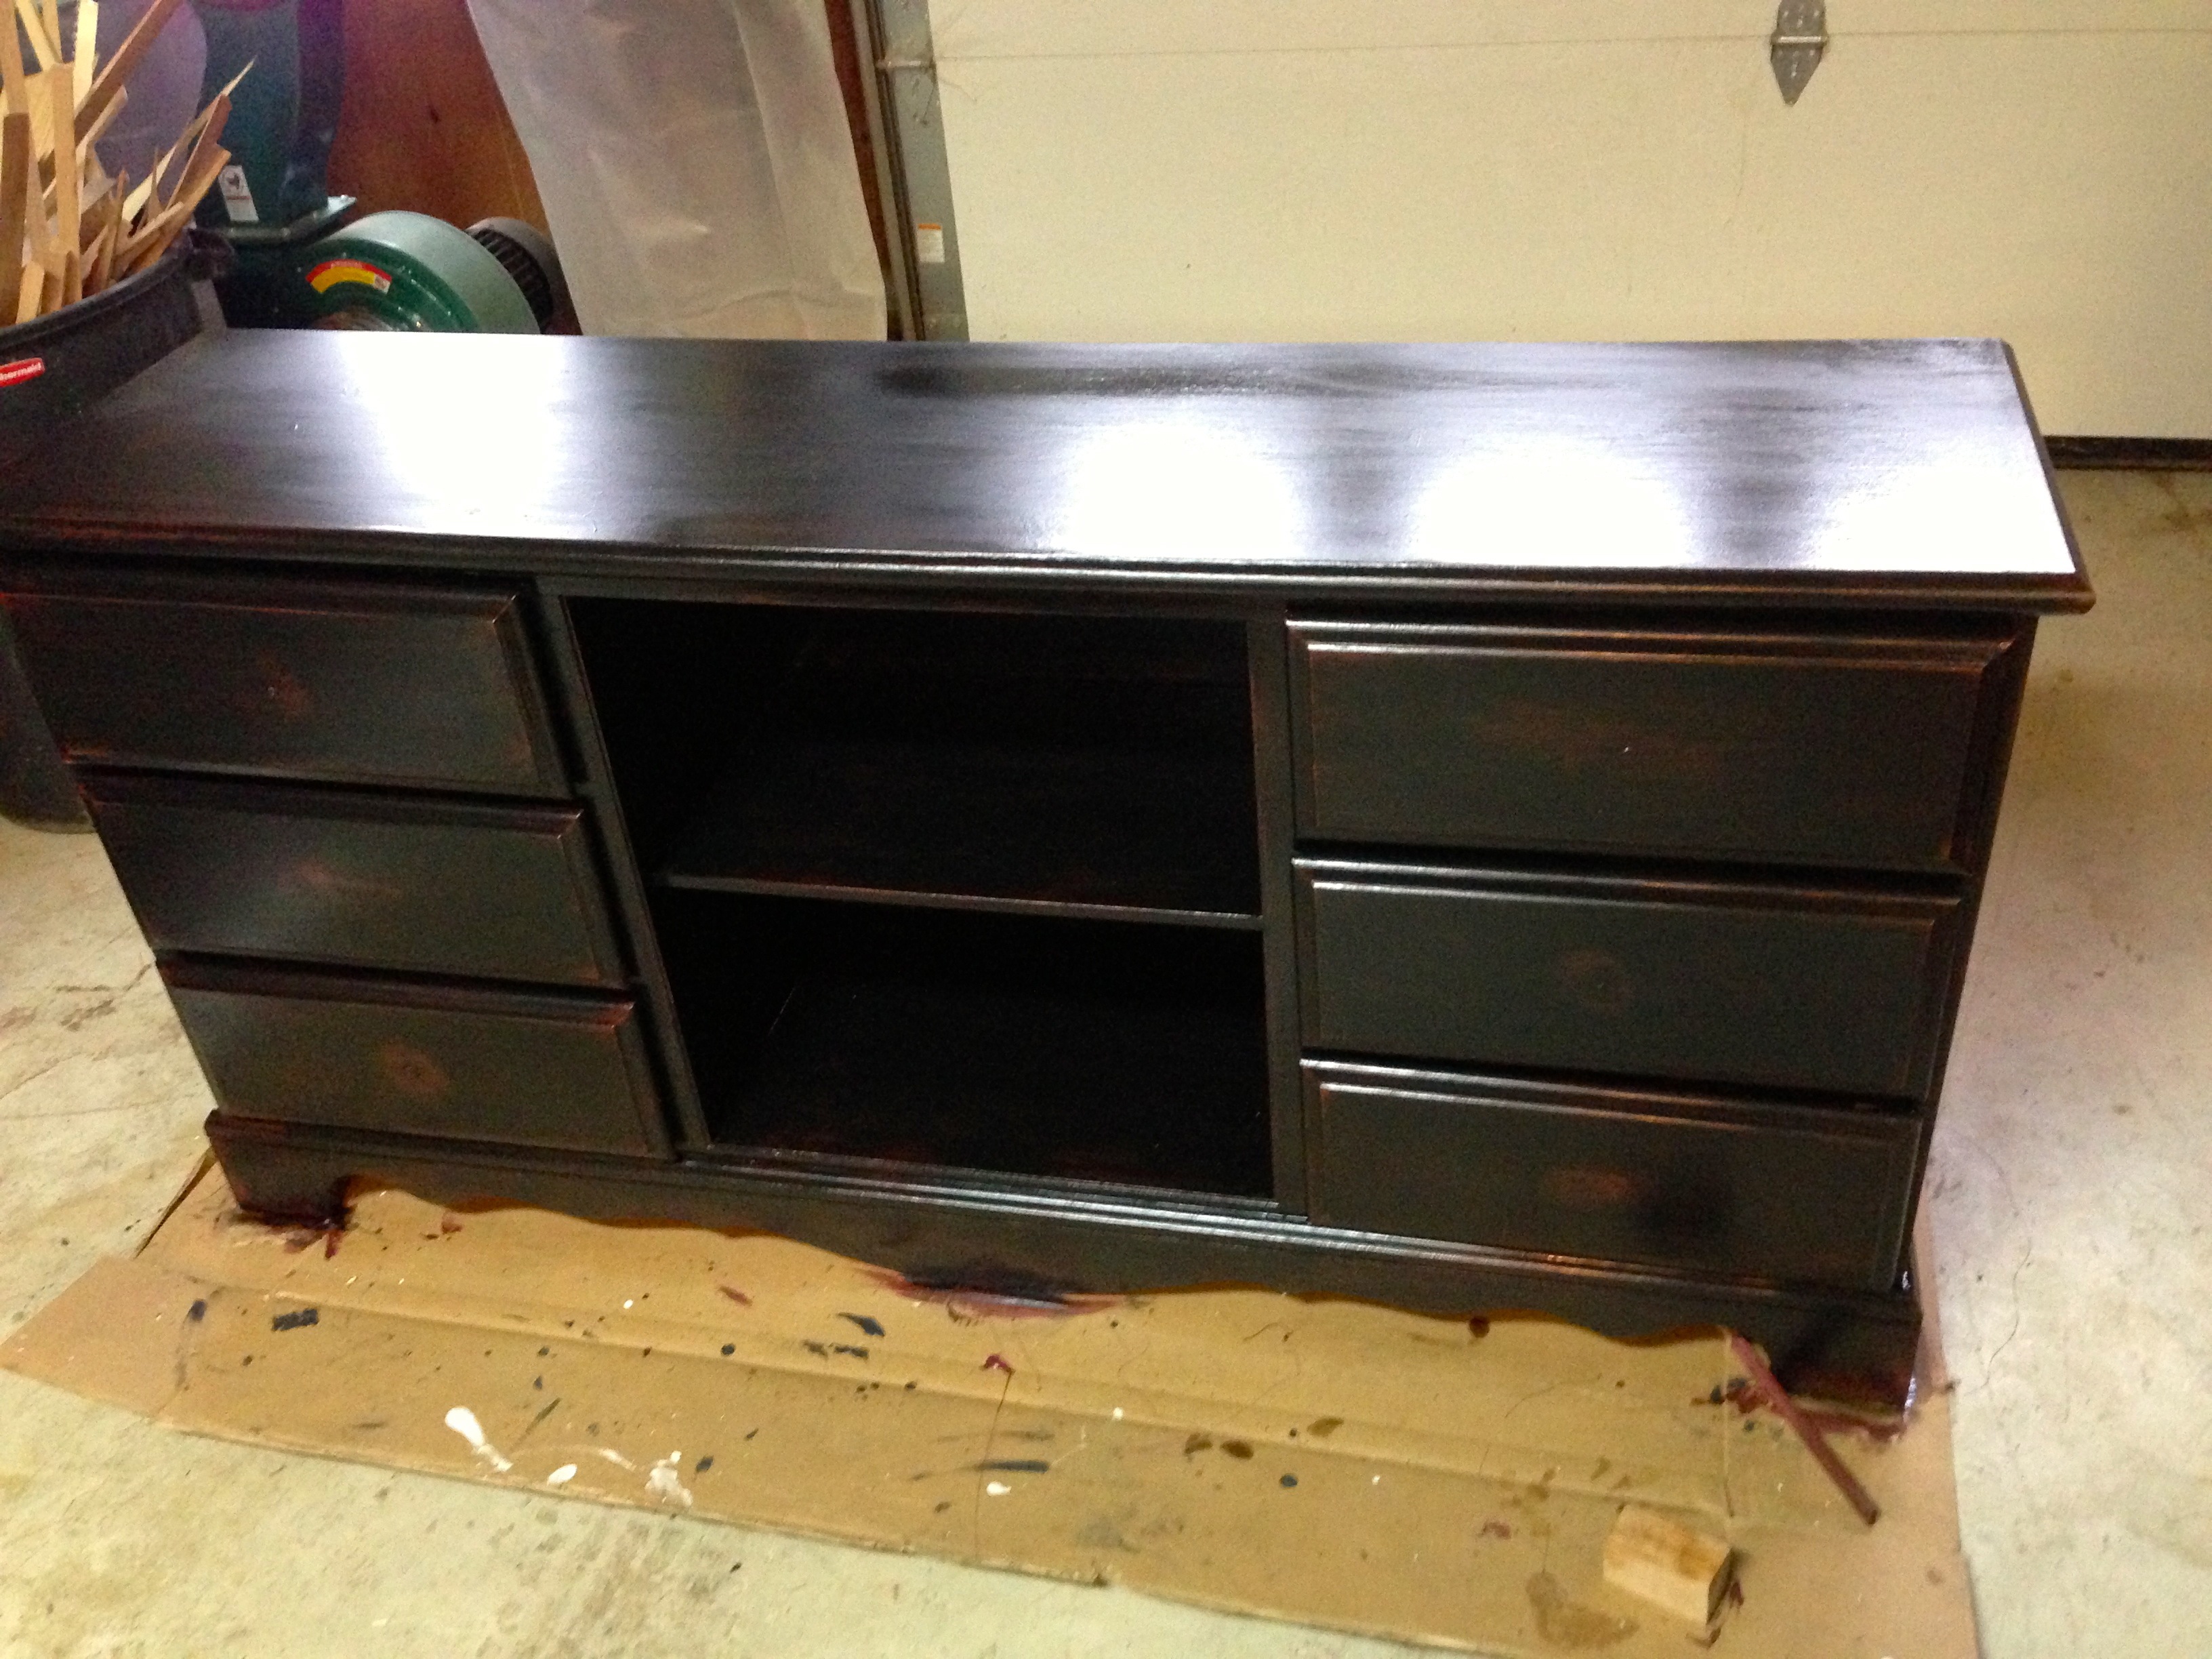

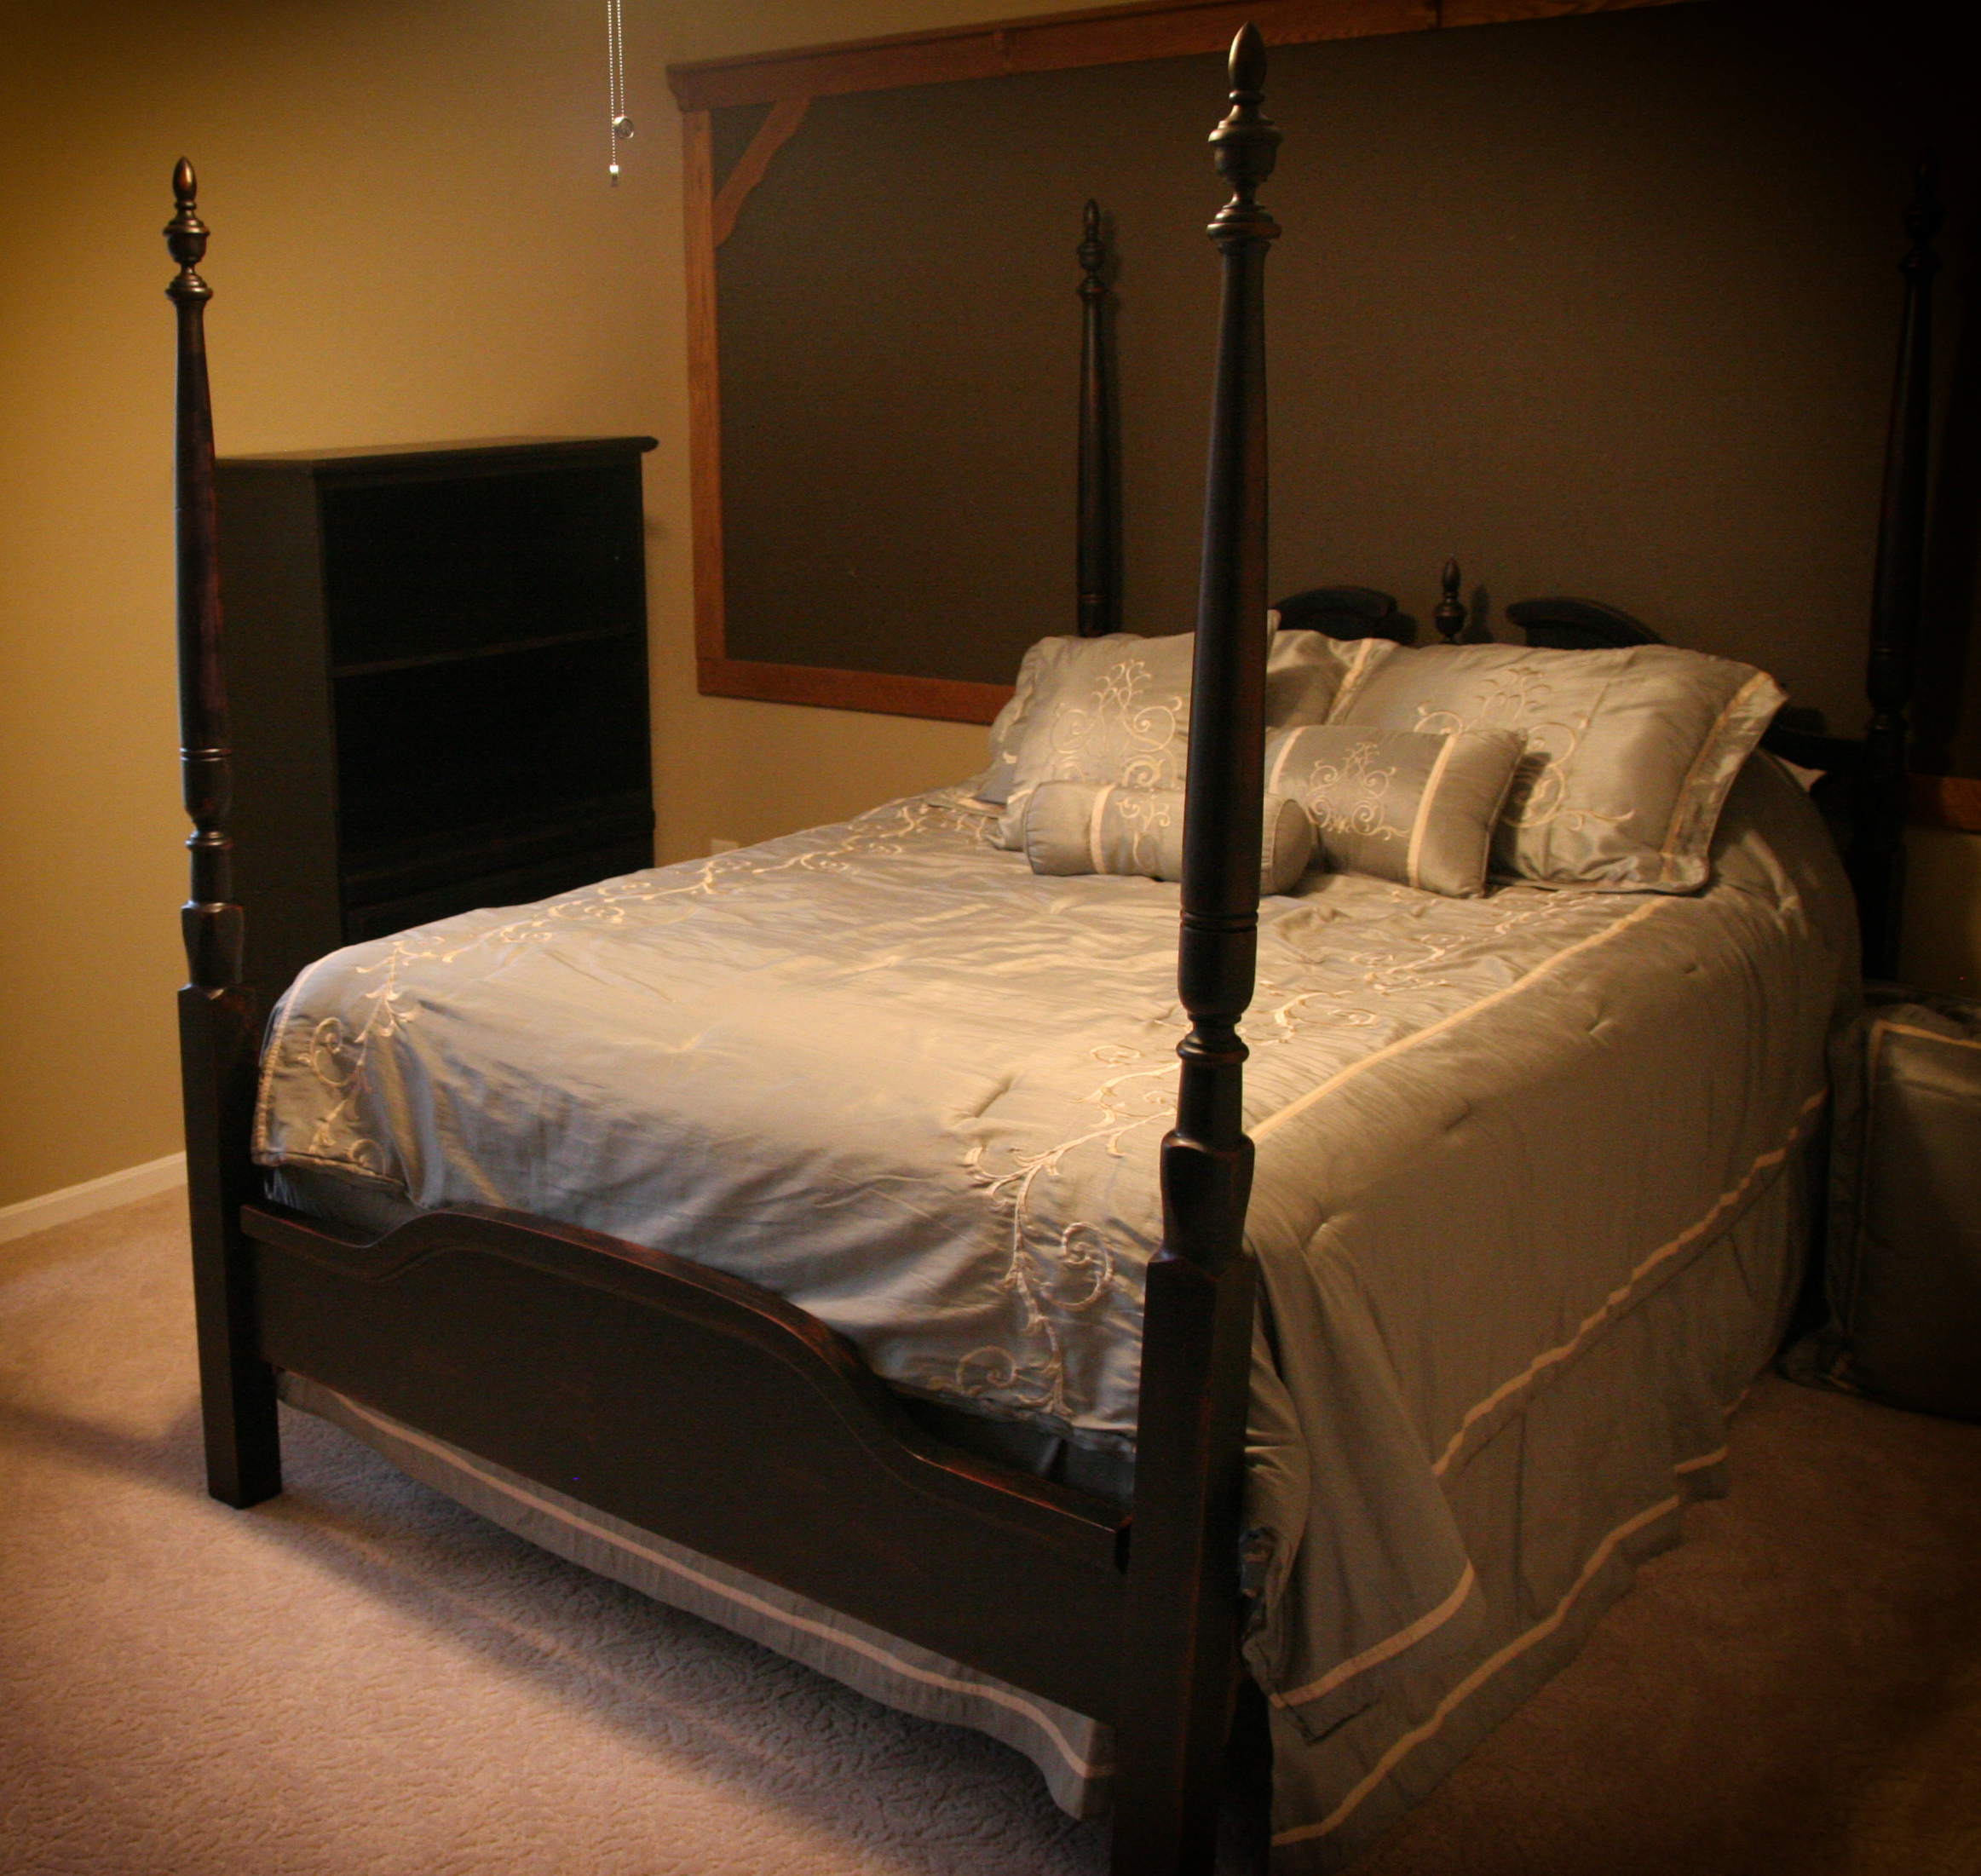
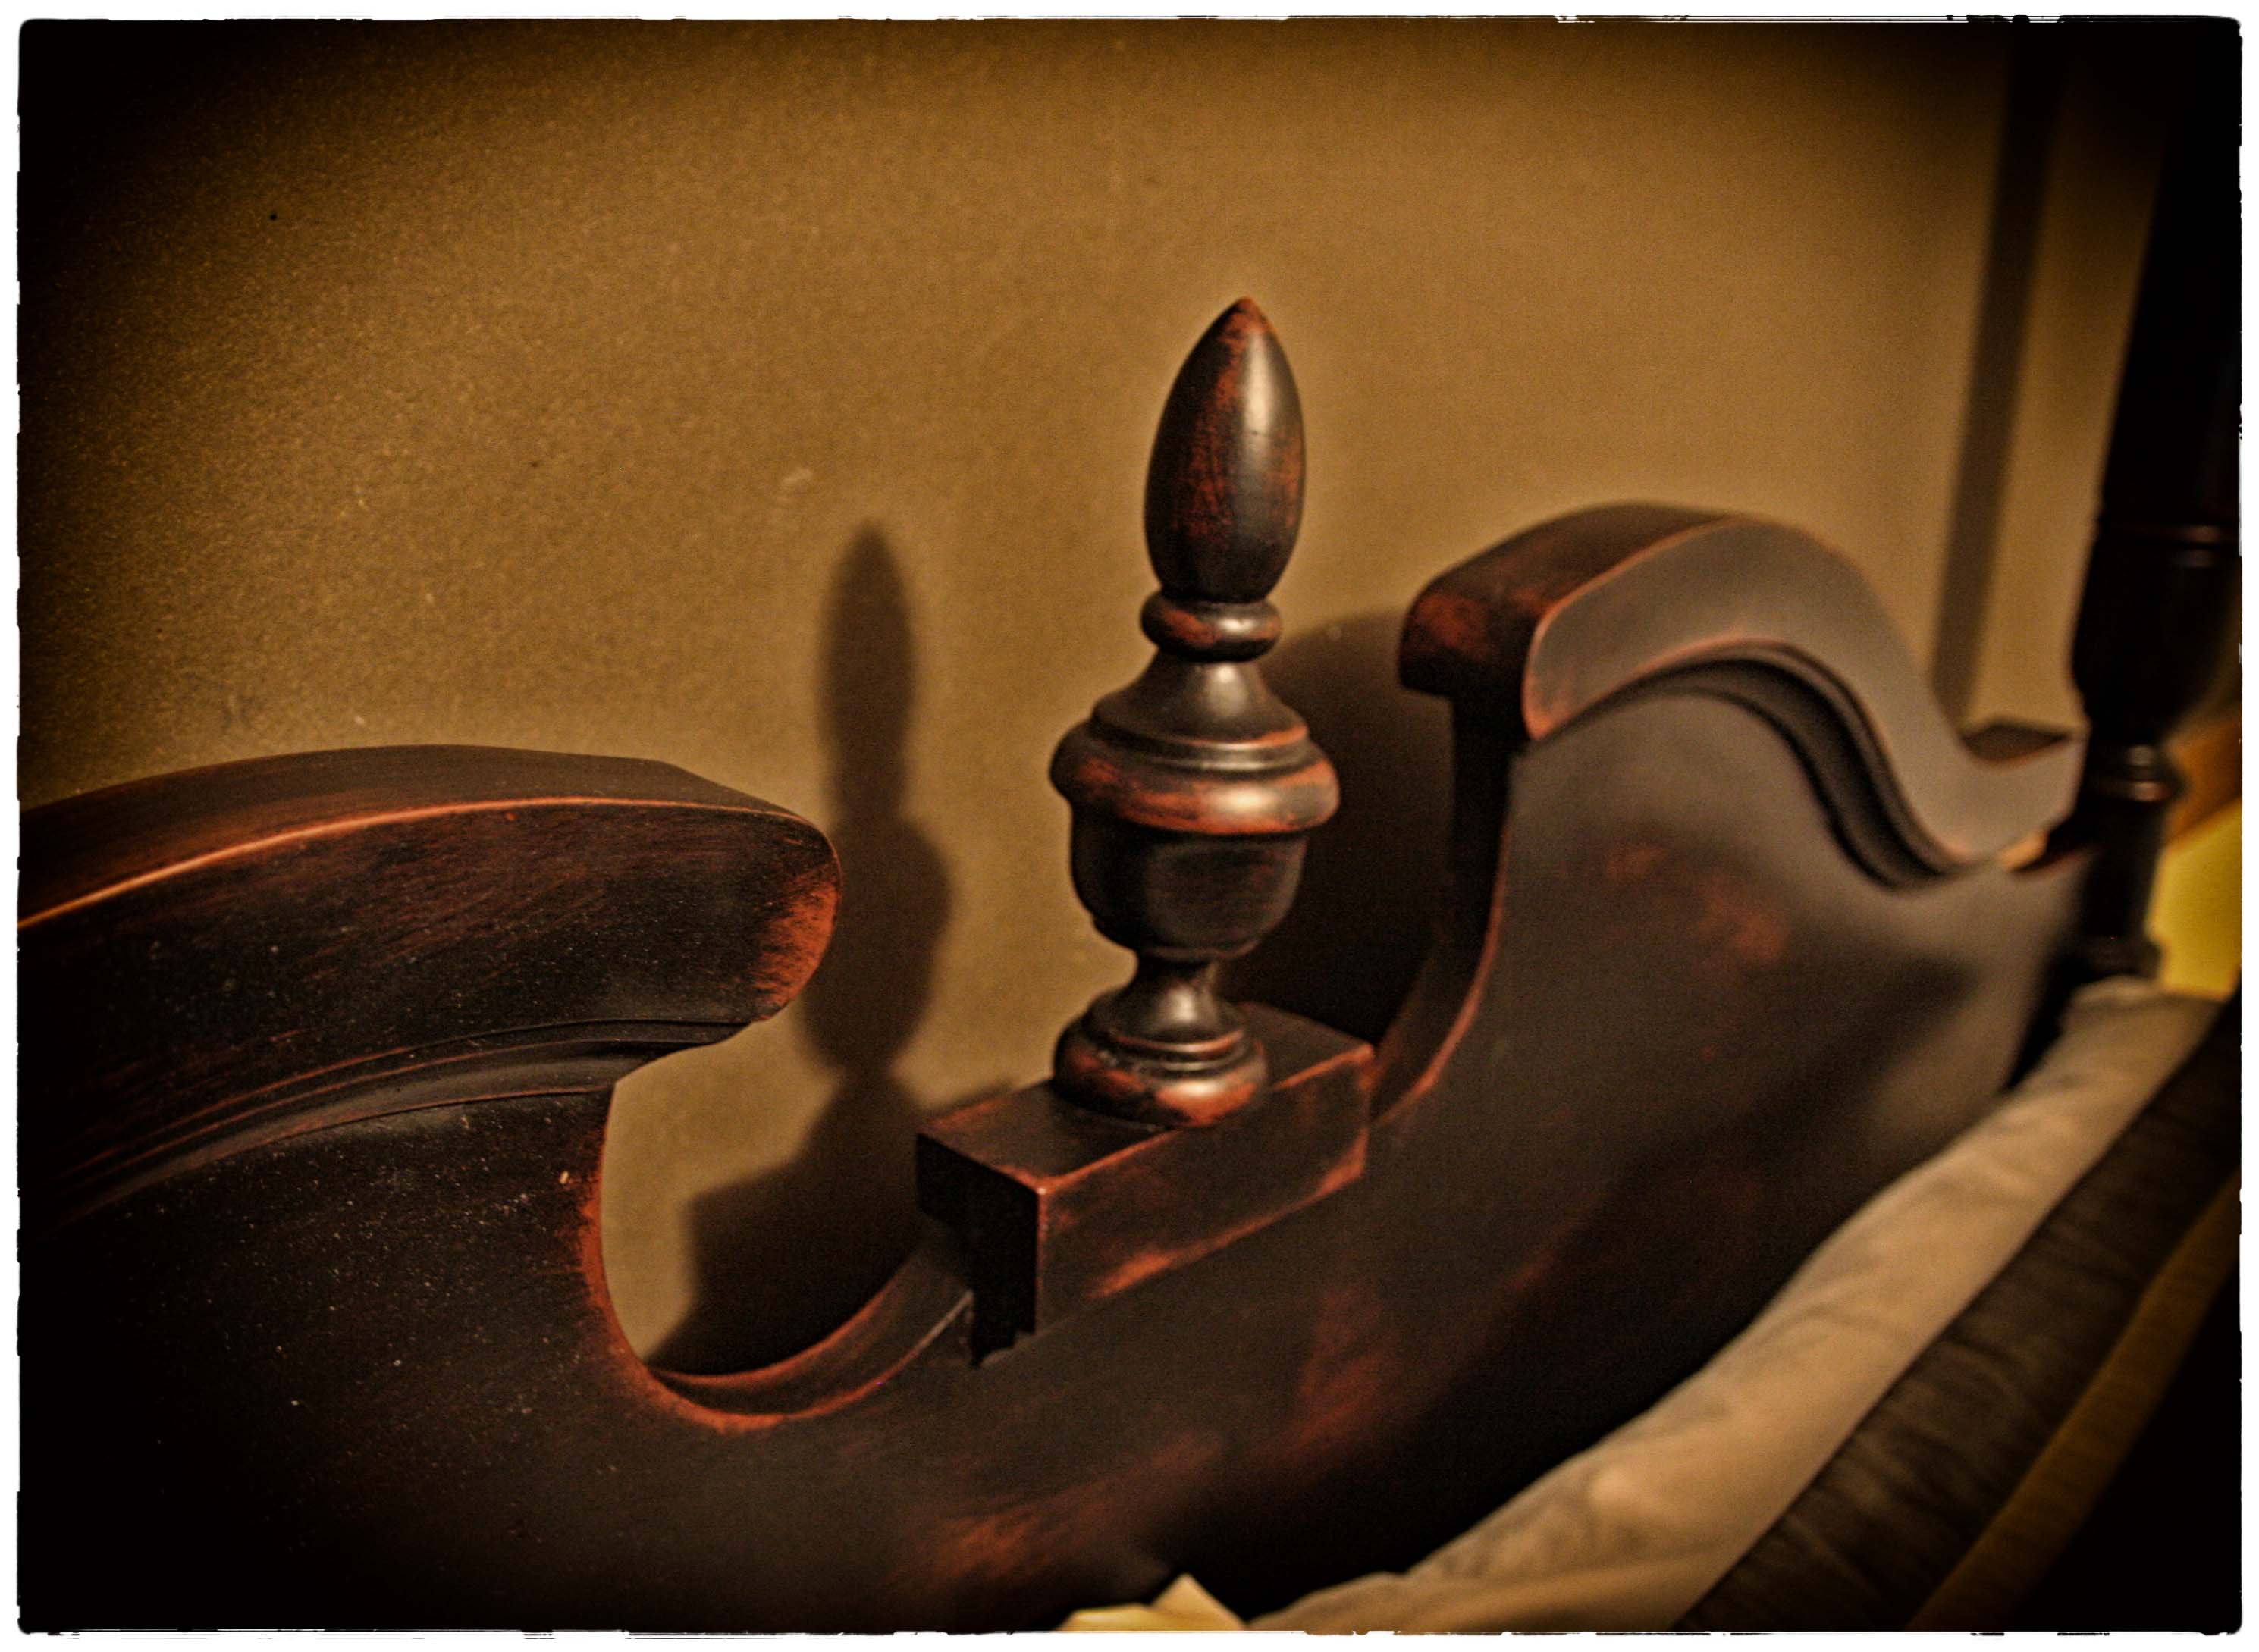
I also did an old bed frame I had in the same finish. I still need to pick some hardware and actually decorate the room. But at least it has some furniture now. 🙂