My First Woodworking Project: Home Theater Speakers

After must reading and looking into my budget to get started I settled on the Tritrix Design by Curt Campbell for my HT setup. (I love the price range and I can start with a 2.1 then 3.1 to 5.1 eventually).
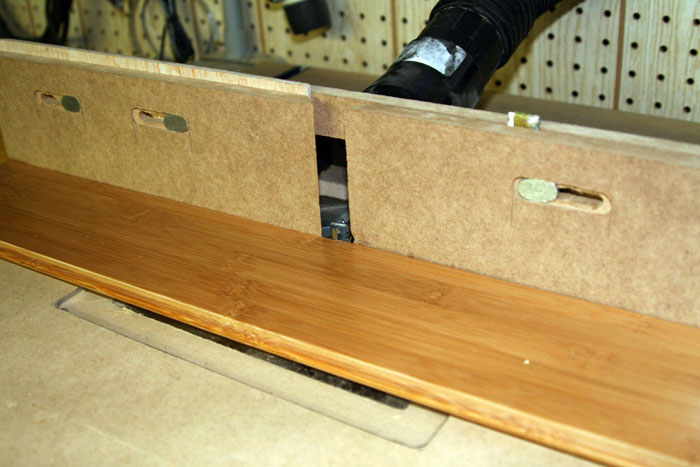
First of all I want to say thank you for such a great resource as the HTGuide.com forums. I’ve been lurking there mostly and reading but have ask a few questions and got some great help. My current set up is a new 52″ Westinghouse LCD (amazing set for the price). a Media Center PC, a PS3 for Blueray & an inexpensive slightly older Pioneer 5.1 receiver. I just finished remodeling half my house and am just starting to get into some woodworking and furniture making. (speakers are the first project so I can do our new TV justice). So after getting much inspiration from all the great photos there I decided to try something a bit different for TriTrix. I have a box and a half of bamboo flooring left over form redoing half our house (Most of the floors are Ash but we redid our closets in Bamboo). I didn’t want entirely bamboo enclosures. So I decided on hardwood sides and bamboo face and top. I spent some time trying to decide on the wood for the sides. In the end I decided I didn’t want to deal with allocating for hardwood expansion and contraction in a speaker design. So plywood it is…. but I want to round over some of the edges so I need to edge it in hardwood strips. So all my decisions made it was time to start. So with most materials in hand already I started on this last Wednesday. Step 1: I need to join some of the flooring strips to create a solid bamboo piece for the top and front faces. So using my router as a joiner I squared up the sides of the flooring (flooring strips have a bevel between the strips usually, so I also have to get that off so that you don’t see the seem).
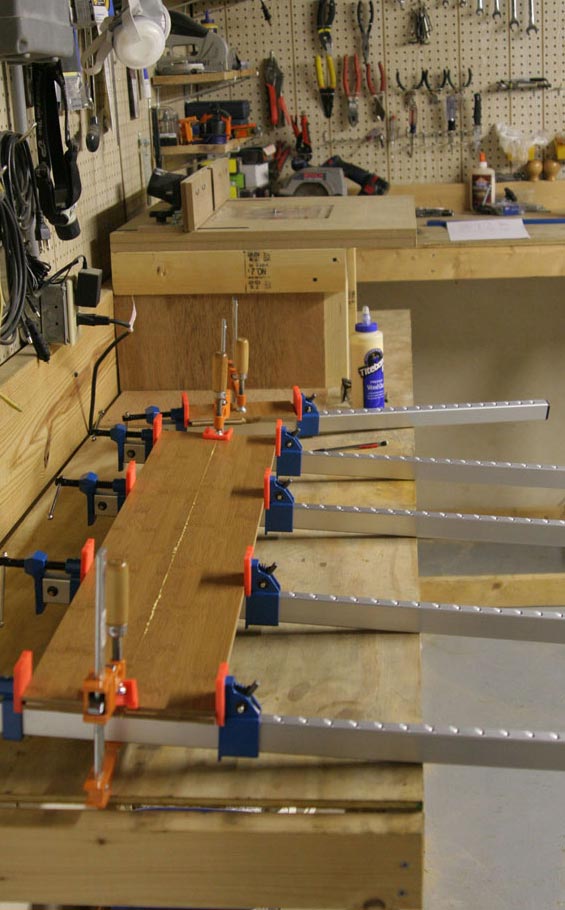
Step 2: Once I had 2 strips (per speaker) ready it was time to glue them up.
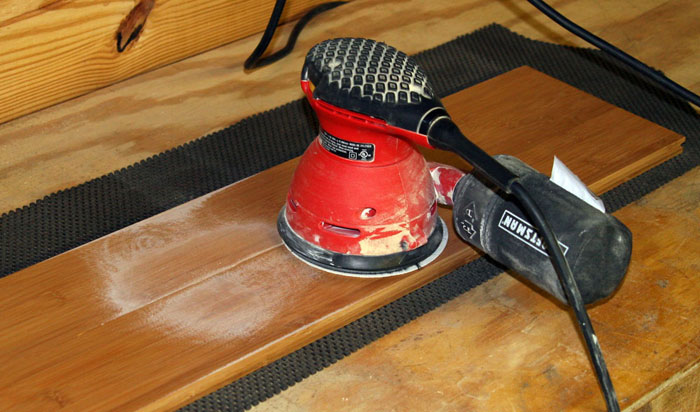
Step 3: Sand off the finish that was put on the flooring at the factory. (dang this finish is hard to get off, still got some more to work on).
Step 4: Bevel layout on the 3/4″ MDF that will back the bamboo.
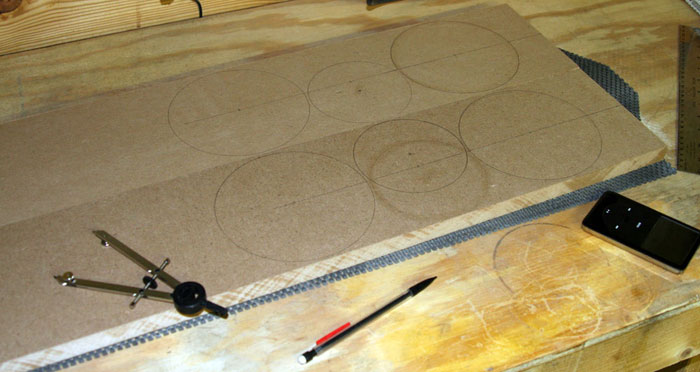
I did all my cutouts with a Jasper circle jig after this, but forgot to take pictures (also didn’t want my camera in the workshop with all the MDF dust). 06-02-2008 at 10:42 AM: Step 5: Starting on the side panels… Decided on red oak hardwood ply because it was easy to match the hardwood side strips to it. (It was an easer grain pattern to match than Baltic Birch). Spread some wood glue and get ready to clamp.
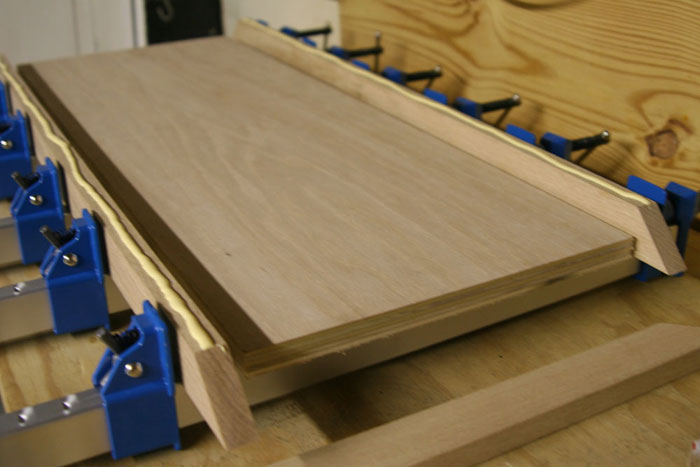
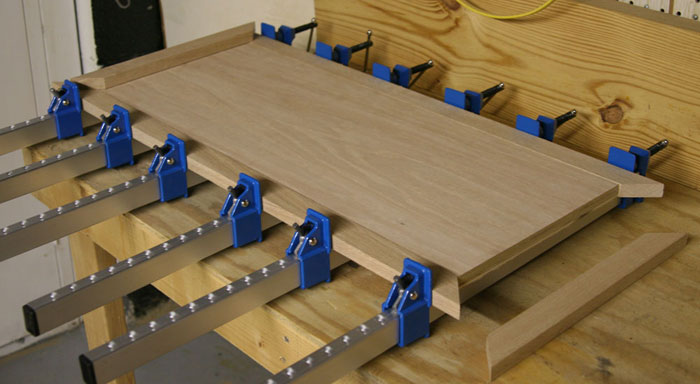
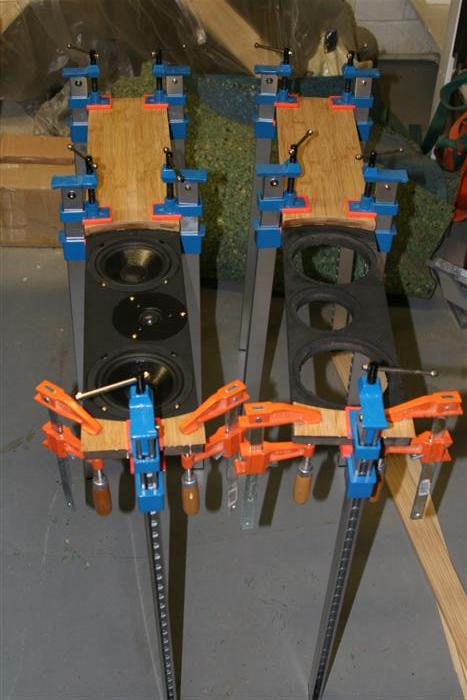
Step 6: Square everything up and clamp it down (1/2 of 1 panel finished, 3 more side panels to go after this one)
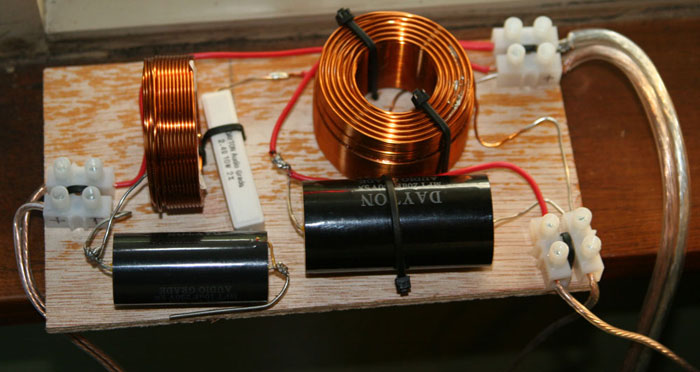
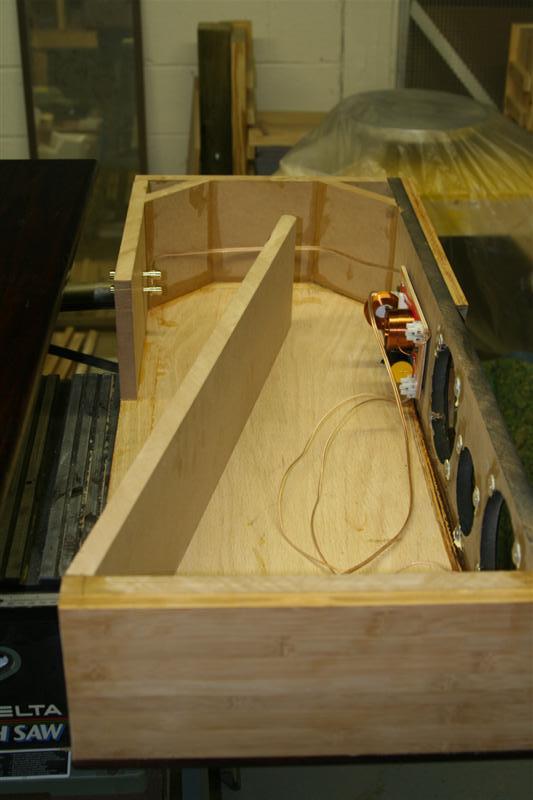
Got one of the crossovers finished and tested
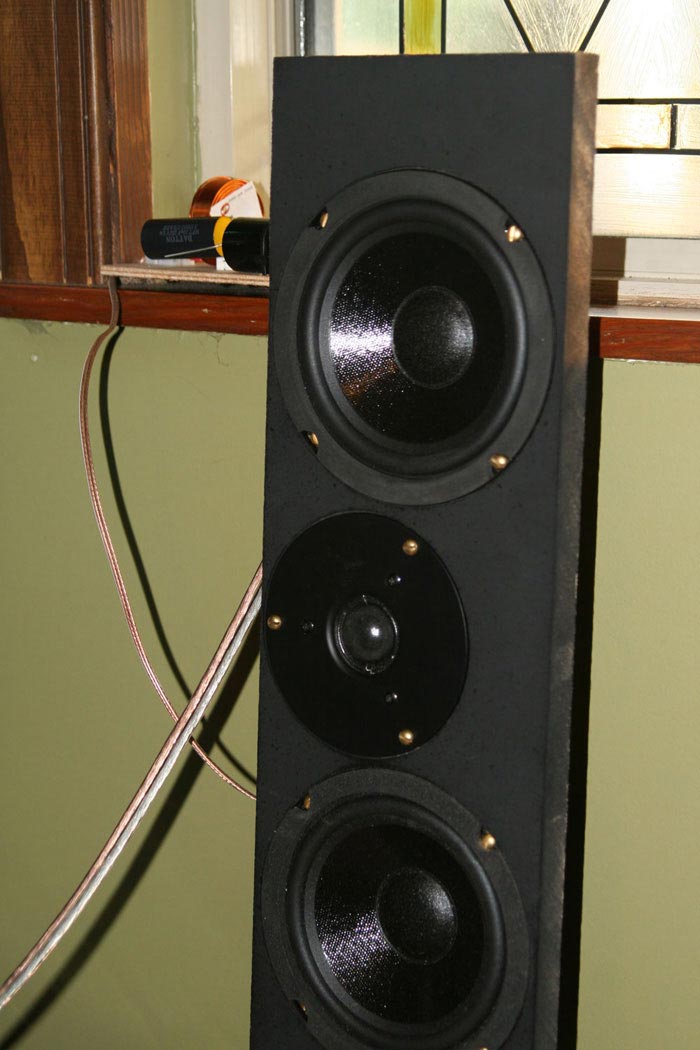
Speakers mounted in the MDF
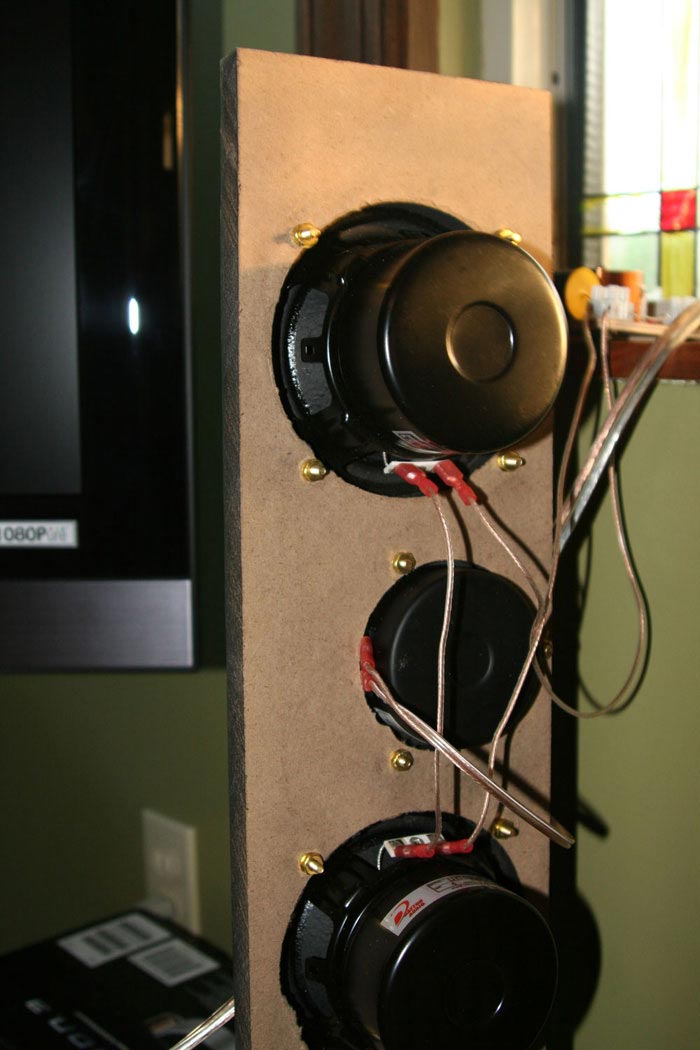
Tested, and wow they sound so much better than my Altec Lancing even without the box (no low end of course). But they are so much clearer sounding!!! Makes the Altec’s sound supper “muddy”. I think I’m going to have to replace every speaker in my house. (I think the kitchen is next)
Dang I’m hooked. More to come, stay tuned. 06-03-2008 at 06:28 AM: Step 7: Got the ends glued on for a complete panel last night

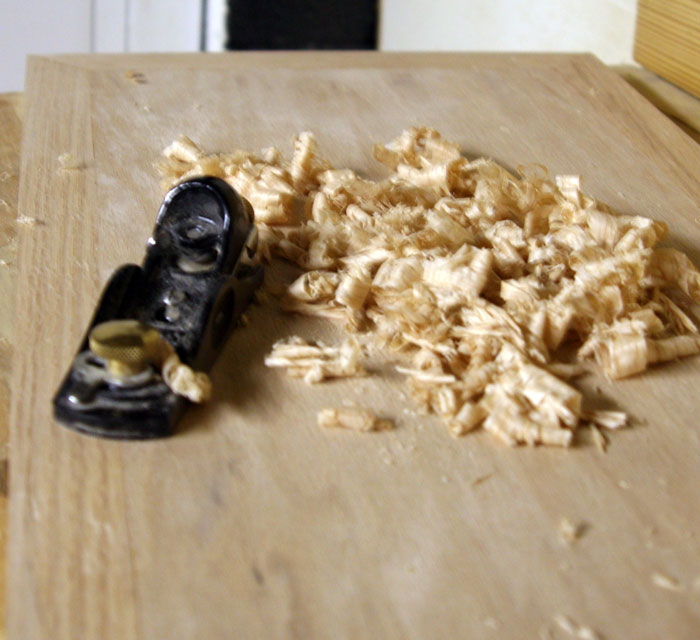
And got steps 5 & 6 done on 2nd panel. and got the 1st panel sanded down to 220 grit this morning. Now I just have to repeat #5-7 on 3 panels so I have my sides ready for routing and staining. (may be no pictures for a few days as I just duplicate stuff I’ve already done, yay for duplication/production) 06-09-2008 at 08:39 AM: Well the sides are finished. I spent the week finishing up my glue ups and then used plane to flush the hardwood strips to the plywood.
Next I routed the edges with a 1/2″ roundover bit.

I sanded them down to 220 grit and prepped the surface for staining with a 1lbs cut of Shellac to promote even stain absorption. I also finished the lower half of my bamboo fronts but for some reason my router died on me. It was working fine, then I went and changed bits and it wouldn’t start up. After I tinkered around a bit with it (mostly just taking it out of its base, blowing it off and shaking it around) it started working again. I routed for a while then changed bits again and again it won’t start. I think there must be a loose connection in there. Of course the allen wrench I need to disassemble the motor is the one I’m missing form my set. So I’ll have to pick up a new set today and try and get it working. 06-11-2008 at 06:40 PM: I’m making strange 5-legged creatures in the workshop. Got the fronts all glued up with the bamboo…. and (not pictured) the the miters cut for the top bamboo panels.

Also got the sides stained and 3 coats of a 2lbs cut of Shellac.
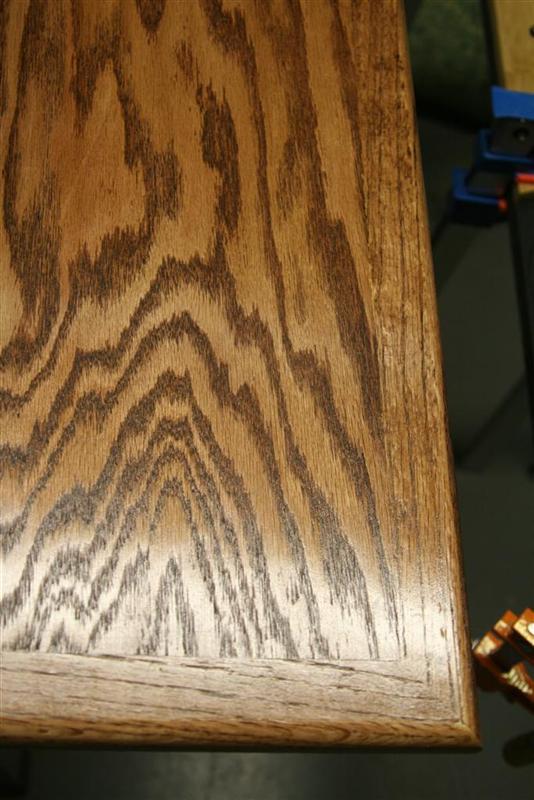
About ready for final glue up… finally 06-19-2008 at 08:19 PM: Wow it’s only been a week since I posted, feels like a lot longer. A lot happened…. Well my router switch bit the dust… looking back it was right after I bought some new chisels and a plane. (I’m starting to think it was in rebellion). Because…. I needed to do a couple of finish cuts so I went and bought a couple of Japanese saws to start working with, and guess what rebelled next? Of course, my table saw up and died. Well it was an old Delta bench top model that they still sell for only like $100 and I think it was older than me. So anyway I’m in the market for a new table saw, I think I have it narrowed down to a RIGID 3660 or a Delta 36-980. Let me know if anyone has any advice in the $600 range. Ok, back to speakers… I hatted the color of the sides and that’s the Minwax Mahogany (about the darkest thing they sell). So I stripped the side panels back to bare wood and started playing with Water Based Dies. FYI I love these things, you can get them as dark as you want, and mix any color you need. I highly recommend them. So sides are redone, got the x-overs finished and in…

And I just finished testing them and gluing them up

Tomorrow I’ll finish sand them with 600 grit (I have a seal coat of water based poly on the sides), and start applying the final finish coats of Shellac. Well I’m done, for now. I have grill cloth and was going to make some grills to cover them but my wife said she kind of likes the look of the the drivers…. and I’m feeling lazy. 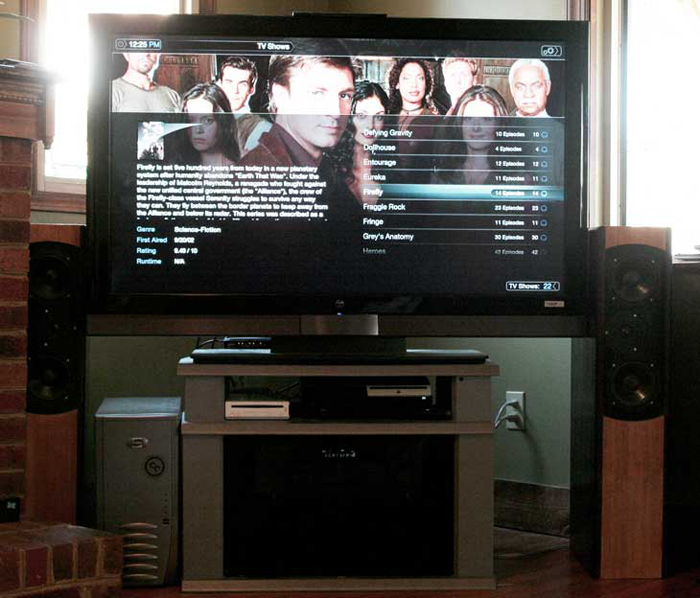
I am inspired to rebuild my speaker cabinets. I wish you had some clearer shots of the finished details. I like your contrast of the darker sides and the lighter front.
And great choice of Firefly for the TV image.